PHOTOSHOP PROJECTS
Objectives:
2.00 Apply procedures to use Adobe Photoshop for visual communications.
2.01 Understand the Photoshop Creative Cloud interface and program settings.
2.02 Understand document structure and non-destructive editing in Photoshop Creative Cloud.
2.03 Apply procedures to create and modify visual elements using Adobe Photoshop Creative Cloud.
2.04 Apply procedures to publish digital images using Adobe Photoshop Creative Cloud.
Elements and Principles of Design Review
|
| ||||
Getting Started with
|
| ||||||||
Ps Tools and Workspace
|
Knowing how the program is laid out and what the tools are help you work more efficiently in the program. After reviewing the Photoshop Basics Presentation, you will then complete the worksheets found to the right, These are PDF worksheets and to fill in your answers and save those answer, you must use a PDF Reader program.
Save your worksheets as Last Name +First Name + Period + Ps Workspace and Last Name +First Name + Period + Ai Tools |
Worksheet:
| ||
Layer Styles WorksheetOne of the new options that you will start to use in Photoshop are Layer Styles. This activity, will help you to review all the options in this panel and allow you to start learning to affectivity use them. Download the .PSD worksheet to the right, this file will open in Photoshop.
Then watch the video to the right to learn all about Layer Styles and then complete the worksheet to practice what you just learned! Save this as a .PSD as last name + first name + period + layerstyles and turn into Scales via AirDrop. Make sure to save it to your Photoshop Folder. |
Worksheet:
| ||
Blending ModesOne of the new options that you will start to use in Photoshop are Blending Modes. This activity, will help you to review all the different blending modes found at the top of the layers panel and allow you to start learning to affectivity use them. Download the .PSD worksheet to the right, this file will open in Photoshop.
Then watch the video to the right to learn all about Blending Modes and then complete the worksheet to practice what you just learned! Save this as a .PSD as last name + first name + period + blendingmodes and turn into Scales via AirDrop. Make sure to save it to your Photoshop Folder. |
Worksheet:
| ||
Sandwich Layering Activity
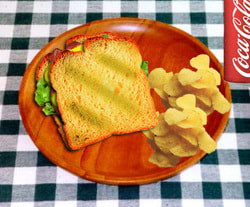
You have been challenged to create an image of a BLT sandwich for a client that looks like the real thing. You have been supplied you with a graphic of a plate from the dinner. The objective is to obtain a better understanding of Photoshop layers by creating the layers of a sandwich on the plate. You are to follow the directions given by the project manager for the target audience to complete the project.
Download the files linked to the right of the documents and images needed to complete the project. Save them in your Graphics folder on your desktop. Use my instructions, watch the demonstrations in class, and use your time in class to assemble your sandwich and add your sides. Make sure to label all of your layers in the Layers Palette. When you are finished save the file (as a .psd file) to your computer in the Graphics folder. Save the file as lastname + firstname + sandwich.psd (ex. scalesemilysandwich.psd). This is one of the few times you will not save both a PSD and JPEG of your work. Submit only the PSD of your work (it cannot be graded as a jpeg). When ready, submit it to your teacher via Air Drop. Remember to add a jpeg copy to your portfolio folder! Make sure you've reviewed the rubric for this project to make sure you aren't going to lose any points! |
Directions:
Rubric:
Image Files:
| ||||||
PS Selections and MasksBeing able to save and load selection masks is a useful skill to help you work on more complex selections. Sometimes you will want to save selections to either use again later or add more too later on. You will also see this on the certification test! Start by downloading the PS Selections and Masks Worksheet below and using the directions on the worksheet, fix the image that I have give you! Then you will save this as a PSD files as Lsat Name + first Name + Period + Selections and then export as a JPEG which you will turn in to your teacher!
|
| ||||
Lettering Activity
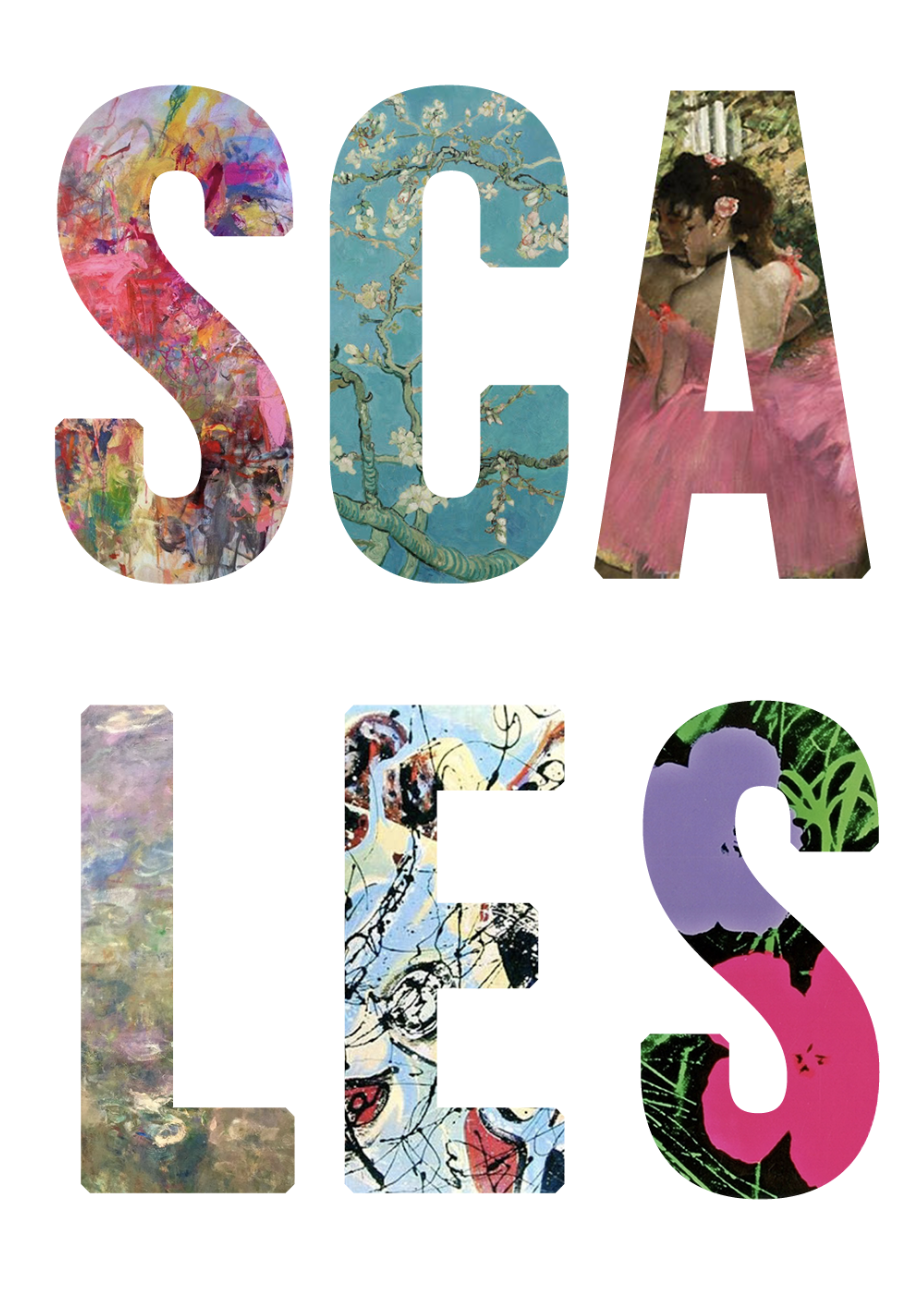
We are going to start small today with a simple activity to continue helping your remember how to use Photoshop. You will use the tutorial found to the right along with a group of images that you will find online (large, high quality only please) to create your own Lettering Image.
You need need to first open up Photoshop. When you are all done, save this as a .JPEG as last name + first name + period + lettering and turn into Scales via AirDrop. Make sure to save it to your Photoshop Folder. |
| ||
PS Combines ShapesIn Photoshop you can edit images, but you can also create more dynamic images using not only text, but shapes. We want tot ensure that you know how to access all the various shapes tools and be able to combine and subtract shapes from each other can help you create better images as a graphic designer. AND you will also see this on the certification test!
Start by downloading the PS Combine Shapes worksheet below and using the directions on the worksheet, you will work the shapes tools and the control panel combine shapes menu at the top to adjust the shapes on the images that I have given you! Then you will save this as a PSD files as Last Name + first Name + Period + Combine Shapes and then export as a JPEG which you will turn in to your teacher!
|
| ||||
PS Frames Tool Worksheet
|
The Frame tool (K) can be a great tool to have in your list of skills to help you work more efficiently! You can use this tool to “crop” images non-destructively in Ps. You have square and round options. Start by downloading the Frames worksheet below so you can practice using the Frame Tool with the images I have provided. You will use the frame tool to adjust each image.
When you have finished, save your worksheet as .PSD file, last name +first name + period + frames and then export as a JPG file. You will turn in the JPG (jpeg) here.
|
| ||||
PS Preferences, Grids, & GuidesWhen using Photoshop, understanding how to set up the preferences that will help you work most effectively is a skill you will need! This will also help you to master using and applying grids and guides, Start by downloading the PS Pref, Grids, and Guides worksheet below and follow the directions located on the worksheet. When you have finished, save it as a PSD file Last Name + First Name + Period +Prefs and turn in as PSD file to your teacher.
|
| ||||
Advanced Photo EditingWe will be working on using Photoshop to learning to edit and manipulate images. Start by downloading the advanced editing photos.zip folder to the right and the checklist. You will use the checklist to ensure that you have completed all the activities for this unit. Below you will find a series of activities. You will be creating 1 folder called last name + first name + period + Advanced Photo Editing to save all your work into. Each file needs to be saved into this folder and labeled with the corresponding number found on the checklist. All original images that need to be include need to be label original with the number as well (ex: 5 original). This is what you will AirDrop when you are all done.
|
Checklist:
Images:
| ||||
Who am I Desktop

For some of you its been a while since you did any work in Photoshop, in order to refresh your memory and remind yourself of skills we will be creating an aerial view of your "desk".
You will create an aerial Desktop view of what your desk would like if you had everything out that represents who you are. All images added to your 'desk" must have the backgrounds removed cleanly. All elements must be proportioned correctly, think about the scale of items (a iPhone shouldn't be larger than a keyboard for example). I am looking for an image that not only tells me about you, but is also laid out and designed well. Be creative about what you are adding to your 'desk." YOU MUST INCLUDE 12 IMAGES MINIMUM!! When selecting images, only use High Resolution, RGB images. As you work, save your project as a .psd and name it lastname + firstname + period# + desk.psd. When you are finished, save it as a PSD and a PNG with the same name and turn in BOTH to Scales. Remember to add a copy of your PNG to your portfolio folder! Review the rubric for this project to make sure you aren't going to lose any points! |
Rubric:
| ||
FiltersStart by downloading the Filters worksheet found to the right. The images below can be found on the worksheet.
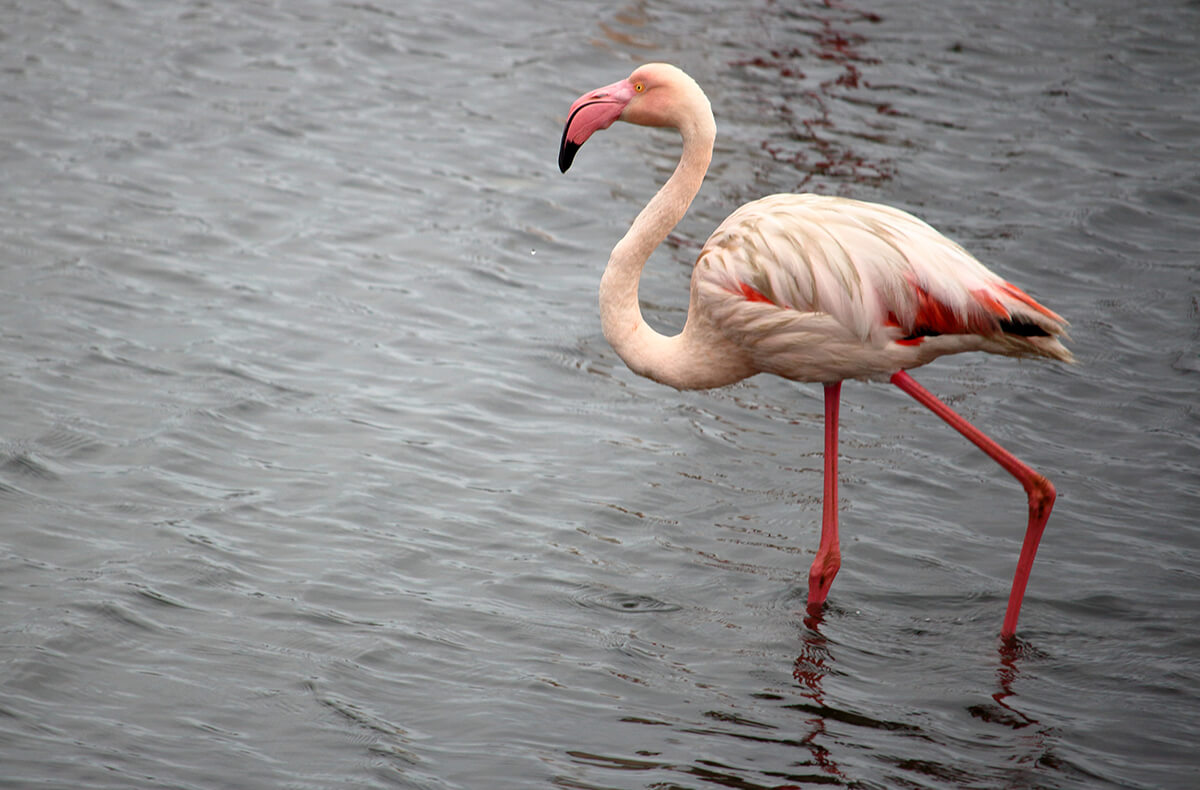
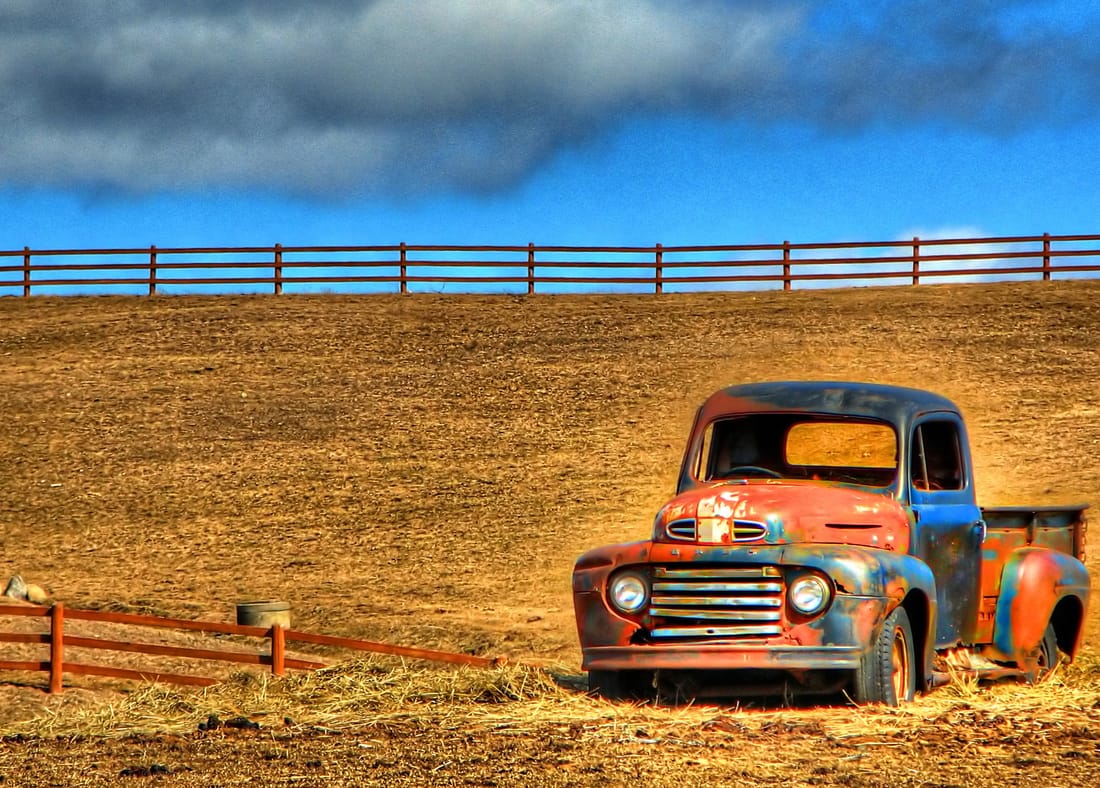
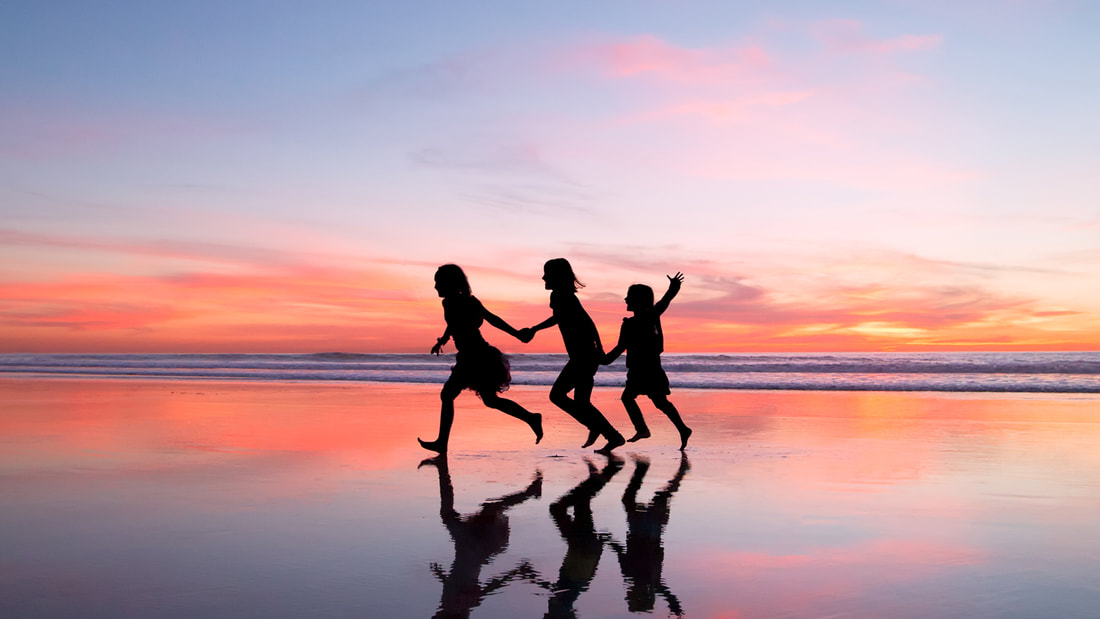
Filter Gallery Once you have downloaded the worksheet, follow the directions listed on the artboard to create the 2 required shapes with the filters asked for, and then you will create your own shapes and pick 2-3 different filters of your choosing to layer up. Make sure your colors are set before you begin. Liquify Filter Next, using the directions, you will use the Liquify Filter to edie the giraffe and the flamingo to change the both to make them longer/shorter. Blur Gallery Last, you will edit the Truck and the children using the Blur Gallery, ad a different blue to each image following the directions listed on the artboard or use the video tutorial to guide you. Once you have finished all 3 pages, you will need to save the worksheet as a .PSD and a .JPEG as lastname + firstname + period + Filters and turn into Scales via AirDrop. |
Worksheet:
| ||
| ps_how_to_use_filters.pdf |

|
|
|
|
Advanced Color EffectsStart by downloading the AVD Advanced Colors worksheet found to the right.
Use the How to Use Advanced Color Guide below to adjust the rubber duck images found in the worksheet to demonstrate how to use the 9 different techniques in the guide.
Gradient Maps
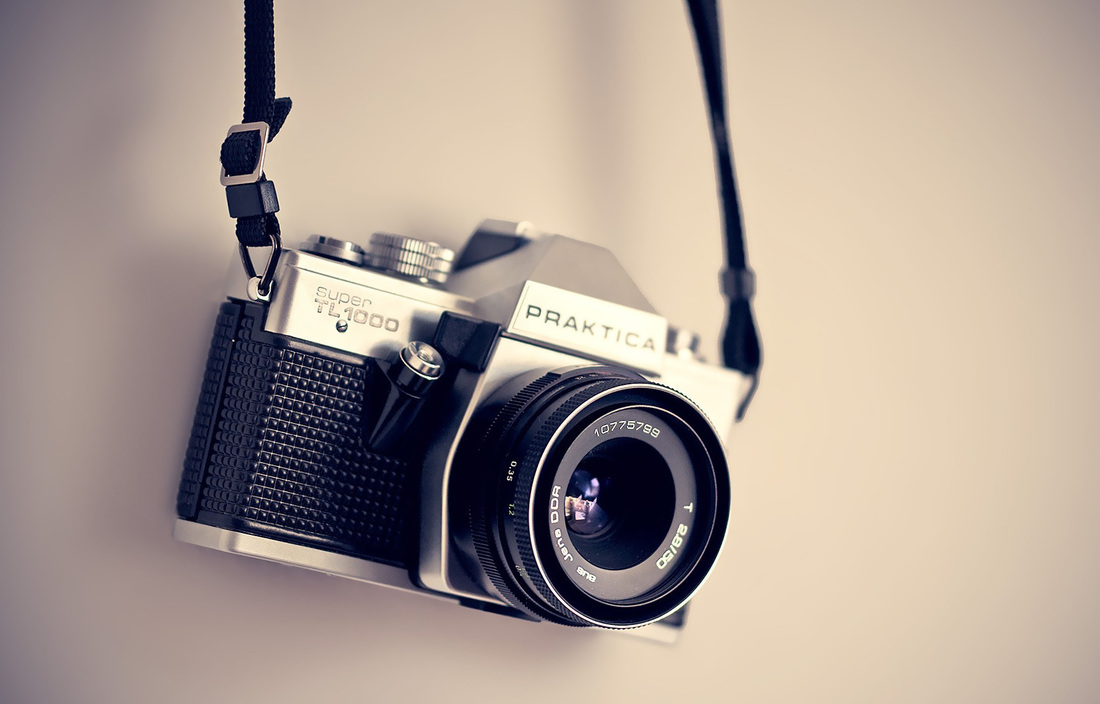
Next, in the same worksheet, you will Use the How to Use Gradient Maps directions listed on the artboard or the3 How to Use Gradient Maps Guide below to take the camera images and apply 3 different gradient maps to the image.
Duotone Effect:
Last, you will use the Make a Duotone Effect video or the directions on the worksheet to adjust the picture of the girl in 2 new ways. Once you have finished all 3 pages, you will need to save the worksheet as a .PSD and a .JPEG as lastname + firstname + period + Adv Colors and turn into Scales via AirDrop. |
Worksheet:
| ||||||||||||

|
| ||||

Applying Advanced Photo Editing Project
|
For this Project, you will be applying what we have learned to edit the photos below. Use the checklist on the right to help you stay on track. After you finish, answer the questions at the bottom. All final images will need to be saved into a folder labeled last name + first name + period + Applied Editing. Each file needs to be saved into this folder as .PSD and .PNG and labeled with the corresponding number found on the checklist. Make sure you include your checklist and AirDrop it to Scales when you have finished.
Use the photos to the right to edit as the following:
|
Checklist:
| ||||||
|
|

|

|

|
|

|

|
|
Mash Ups
|
How do you take 2 different pictures and make them into a mash it up that is completely integrated together? Select a minimum of 2 photographs that you think could be put together in a way that makes a new thing. Make sure you can't tell where the mash ups occur. BE CREATIVE!! You will need to make at least 3 Mash Ups. Make sure you don't use any of the inspirations ideas you see here. Instead BE CREATIVE!! This is a test of your photoshop abilities and your creative. When I look at this, I should not be able to tell where the images were combines. You will need to find your own images, make sure you look for high resolution images to work with.
Start by downloading the worksheet to the right. You will use this to not only create your project in, but also to submit all of your original images. You will need to your worksheet as a .JPEG as lastname + firstname + period + Mash up 1, Mash up 2, etc.... Then put all the files, with the original images into a folder called last name + first name + period + mash up and turn into Scales via Air Drop. |
Worksheet:
| ||
Surreal Photo Merge Project
|
You will be creating a photo merge collage using multiple images and text to convey a message or tell a story of some kind to your audience. You will need to choose a theme and brainstorm the message you want to project. Use the Internet (Google Images) to find images to work with. Make sure you are only choosing Large, High Quality images to work with. You must use a minimum of 10 images. But, keep in mind; ALL images need to be modified in multiple ways. 1 image will need to serve as your background (but needs to be edited as well).
Start by downloading the worksheet to the right. You will use this to not only create your project in, but also to submit all of your original images. Use the skills and techniques we have been learning in the classwork assignments during class. It is up to you what canvas size you will need. Remember to not only edit your photographs but to create a visually pleasing layout and design. When you have completed your photo merge, you will need to write a 2 paragraph paper reflecting on what you have create, what techniques you used, etc…. How would you combine images that do not go together at all? How can you make one flow to the other seamlessly? Think back to the Photo Editing in order to help you. Be creative!
After you have finished, save it as a .psd and name it last name + first name +period + photomerge.psd. Make sure you also save it as a .JEPG. You will need to turn in both files to Ms. Scales' via AirDrop in a folder. Your folder will be named last name + first name +period + photomerge and need to include your original images, your Photoshop project file and final jpeg image, and your checklist. Please make sure that the original images that you edited are all named based on what you listed the images as on your Checklist. Review the rubric to ensure you won't lose any points. |
Worksheet:
Checklist:
Rubric:
Inspiration Videos:
| ||||||
