Photo Editing Activities
Objectives:
2.00 Apply procedures to use Adobe Photoshop for visual communications.
2.01 Understand the Photoshop Creative Cloud interface and program settings.
2.02 Understand document structure and non-destructive editing in Photoshop Creative Cloud.
2.03 Apply procedures to create and modify visual elements using Adobe Photoshop Creative Cloud.
2.04 Apply procedures to publish digital images using Adobe Photoshop Creative Cloud.
|
Below are different images with the before and after that you can use with your students to teach basic photo editing in Photoshop. These skills can be applied to a variety of different types of images.
Use the guides and videos found here to help you complete the editing below so that we will do to learn how to enhance photos and correct issues that you see in the majority of images you take. To turn in: Create a folder named last name + first name + period # + photo editing. You will save all of your images here. Use the checklist found the the right to ensure that you have all the images you are suppose to have. As you complete an image, make sure you are checking your list off. This checklist needs to be included in your folder when you finish. |
| ||||
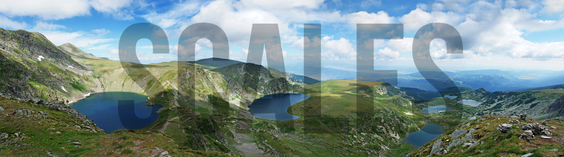
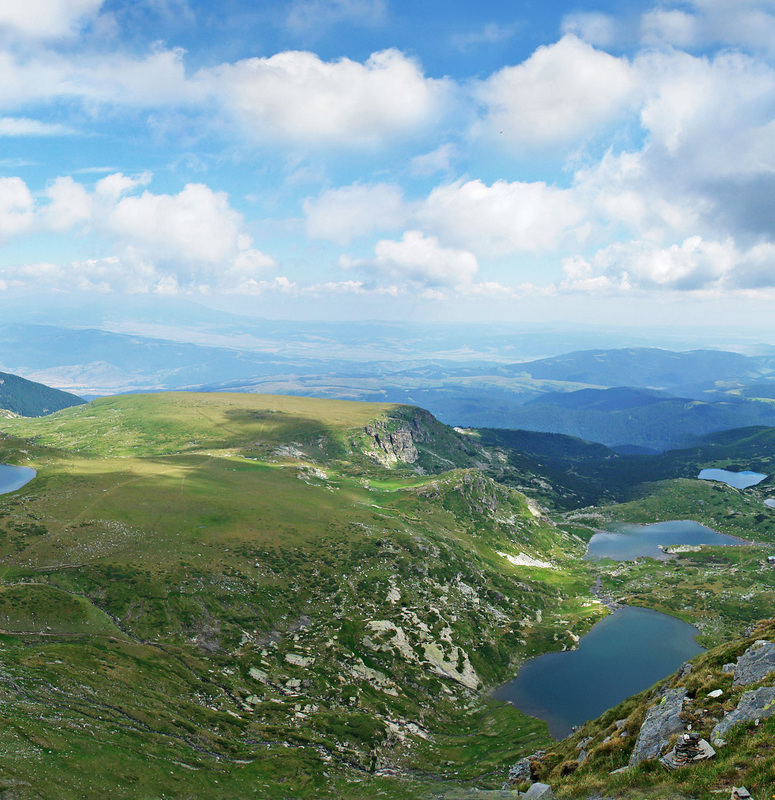
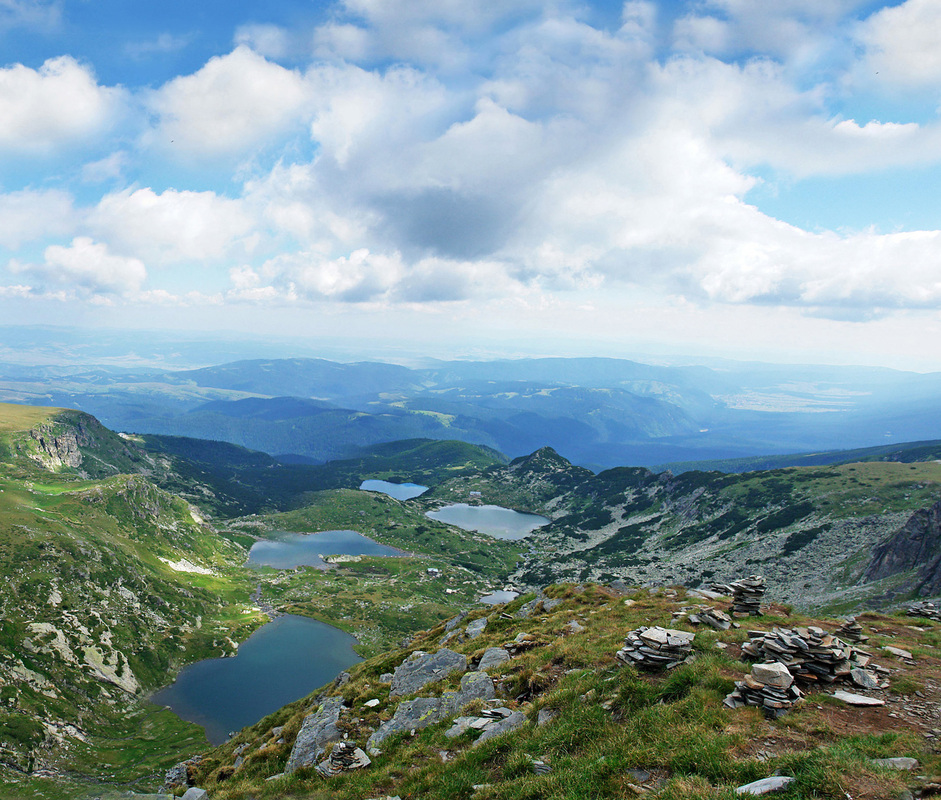
Combine Panoramic Images & WatermarkUse the guide How to Combine Images to create a panoramic image (see image to the right). You will use the images provided and follow the guide. After you have completed this, read the How to Add a Watermark and add your own watermark to your Panoramic. Name this file LastnameFirstnamePanaromic.jpeg and turn this in to your class folder. Then read the Bitmap Vector Images file.
We will be using the following:
Directions to Combine Images and add a Watermark:
|
| ||||||||||


Color Correct & Fixing
|
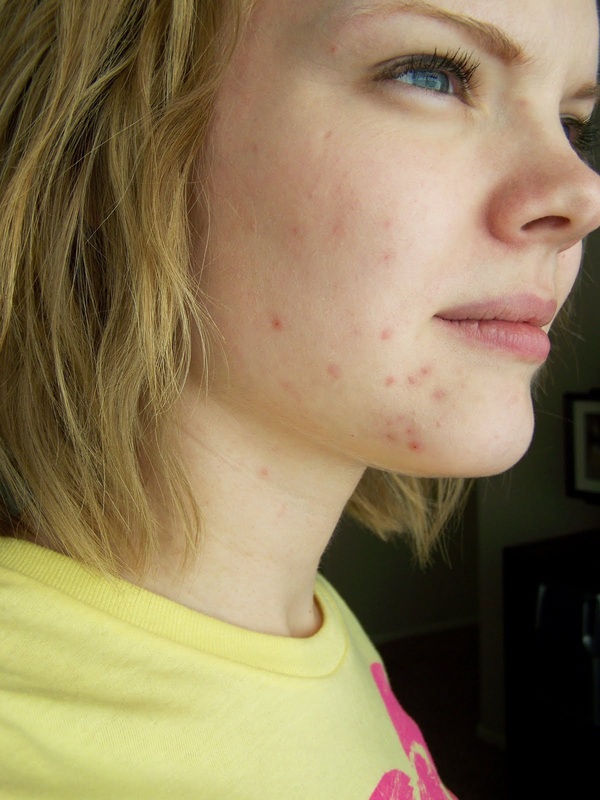
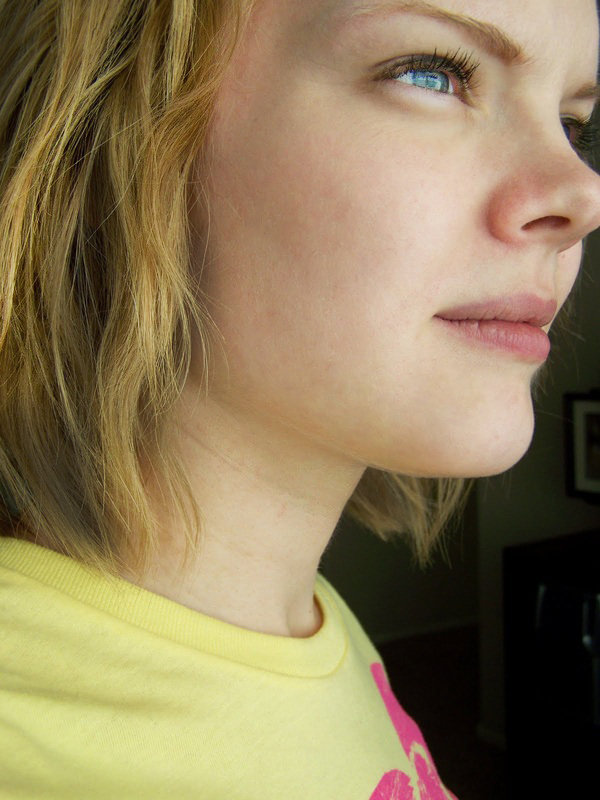
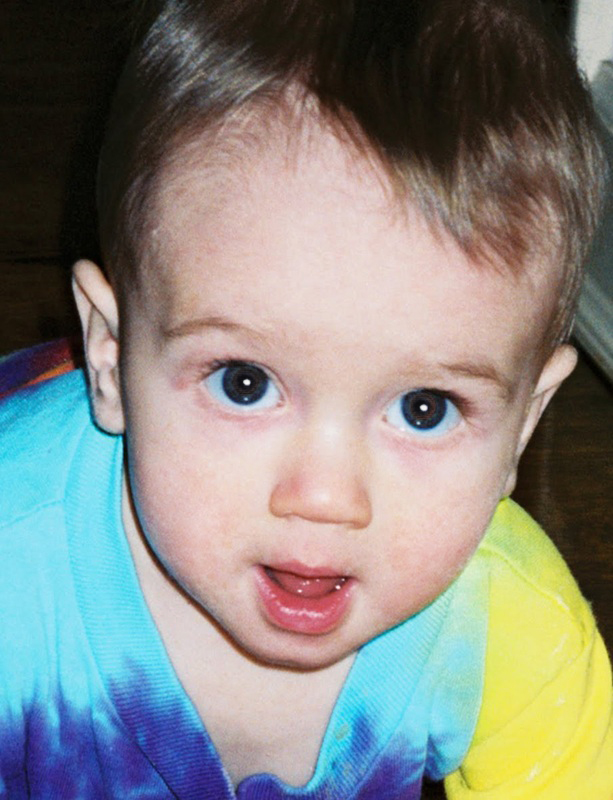
Start by working on how to adjust an image to improve the persons looks. Start with the Girl and use the tutorial video below or the How to Fix Images file to help you. Next, the baby has red eye that you will need to fix.
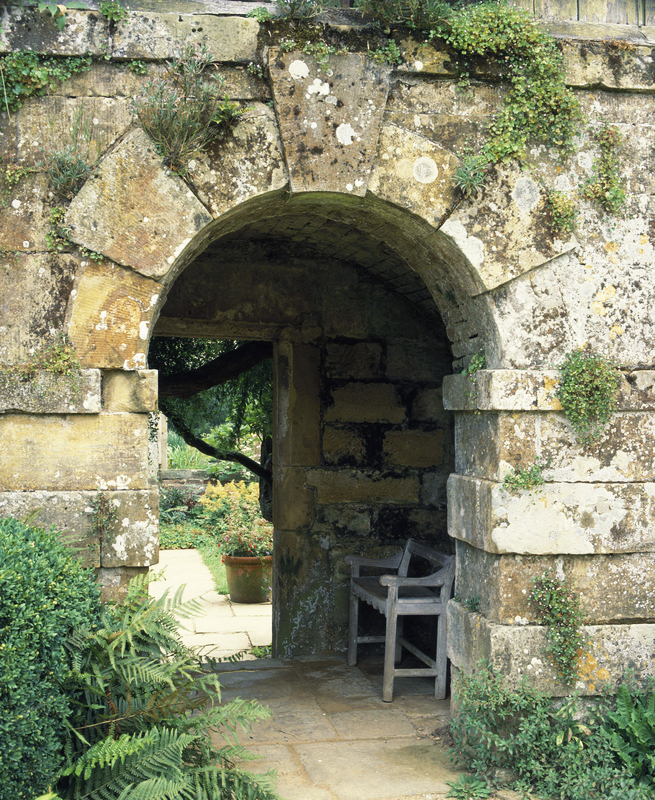
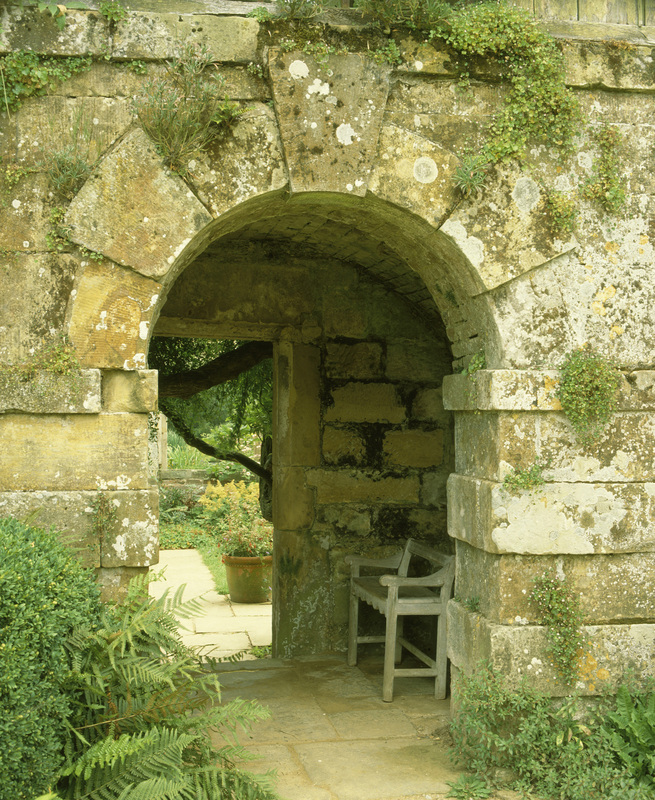
Next, look at the How to Correct Color to help you adjust the Kitchen and Doorway images found below. The colors are quite like they should be, and you need to fix them. You may also use the videos below to help you. In the How to Correct Color, it will show you how to use the Adjustment Panel to create color and black and white versions of an image. You will need to go online and find a high resolution image to covert to black and white. All these images need to be saved into your Photo editing Folder to be turned in at the end of the unit. |
Directions to Color Correct and Fix Images:
Rubric:
| ||||||
The GirlWe will be using the following tools:
|
|
The Baby |
We will be using the following tools:
|

|
We will be using the following:
|
The Kitchen |


The Archway |
We will be using the following tools:
|
Move, Eraser, & Select:
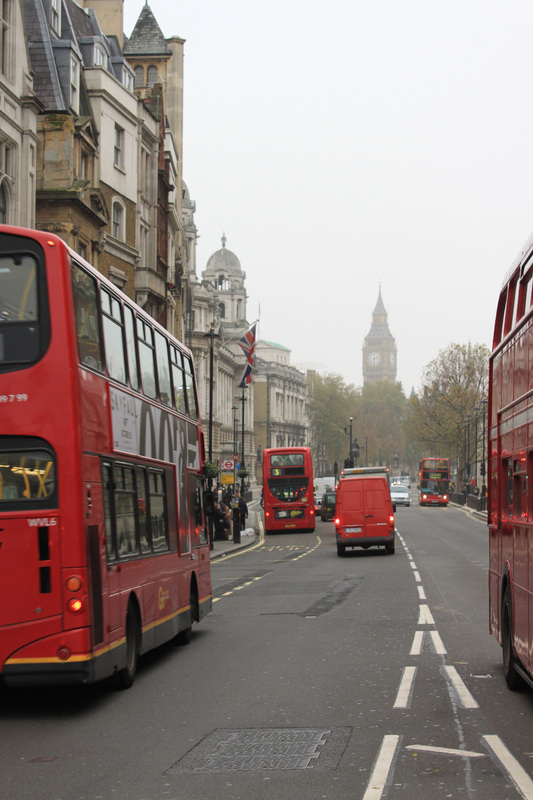
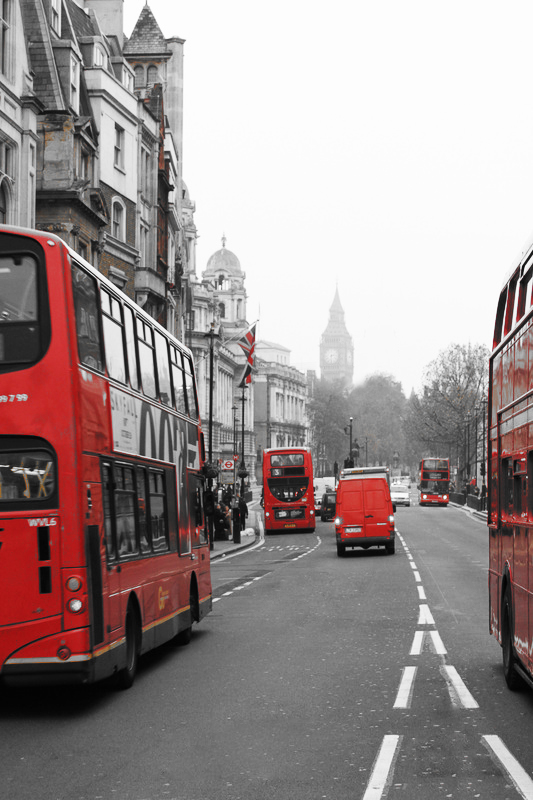
Now we need to download the image of London and fix the road so it doesn't have any pot holes or grates and then move Big Ben over to the left like they did in the tutorial. Then you will need to create a color pop version of the image with only the RED left in the image. Use the tutorial video below to help you edit this image.
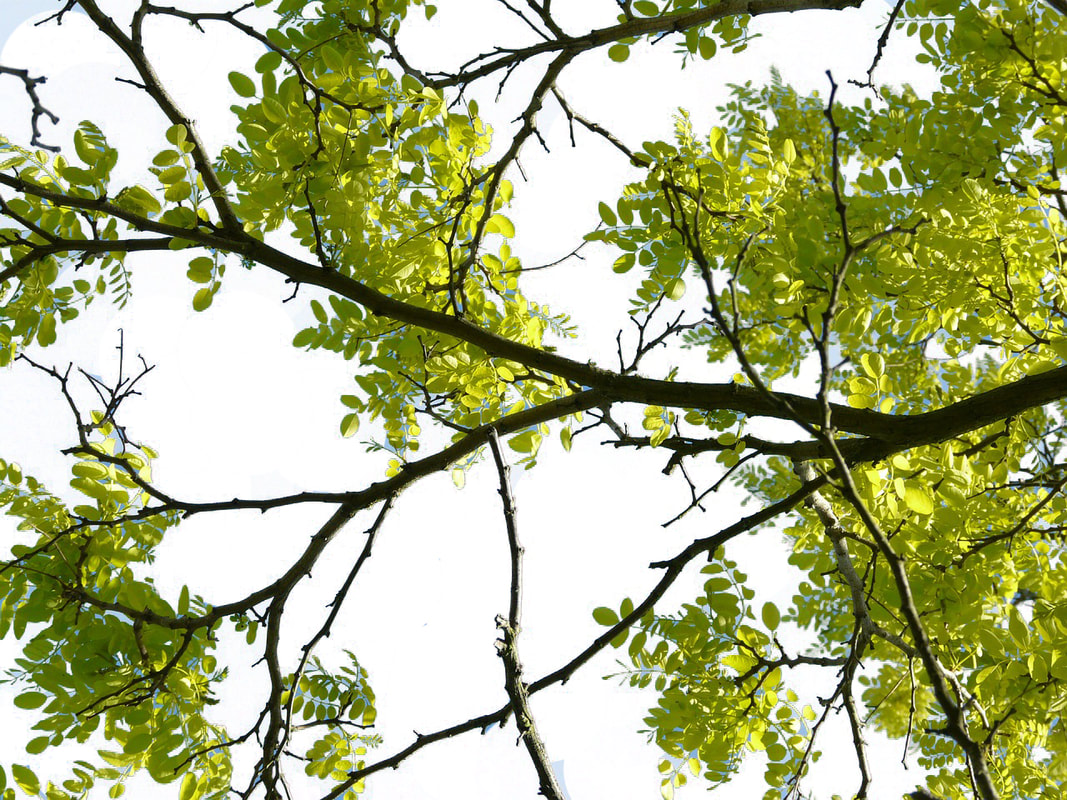
Next you will work with editing using the erasers. Start with the stripes to get practice on using the background eraser tool. Then you will move on the the Tree branches completely removing the sky from the image.
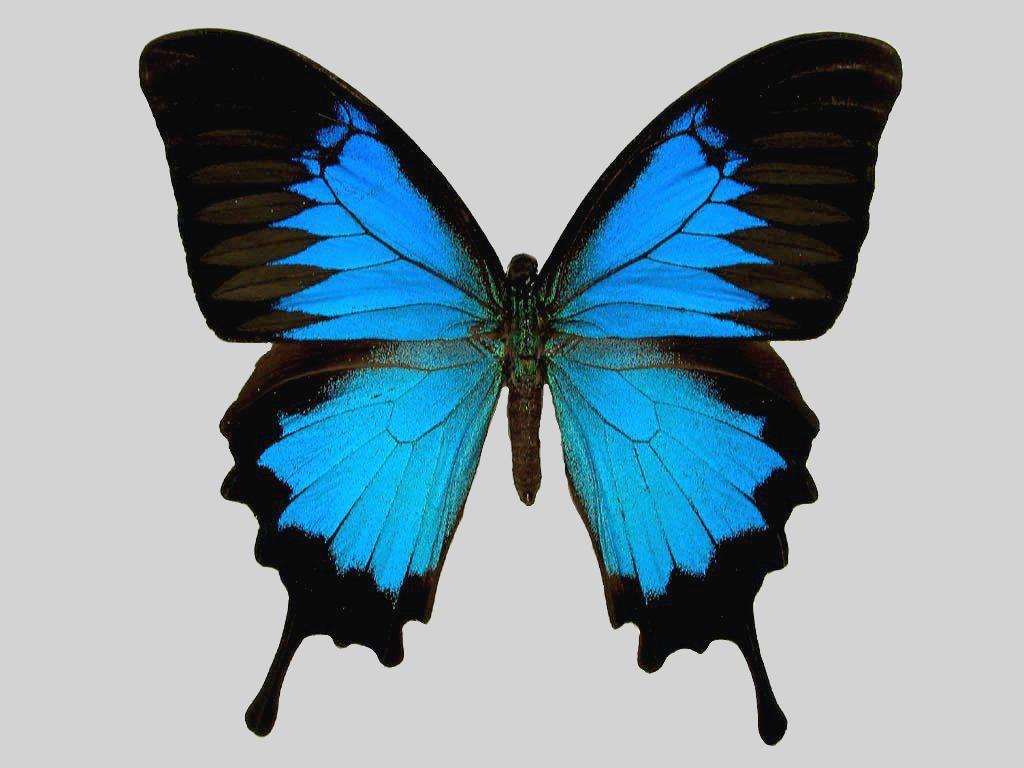
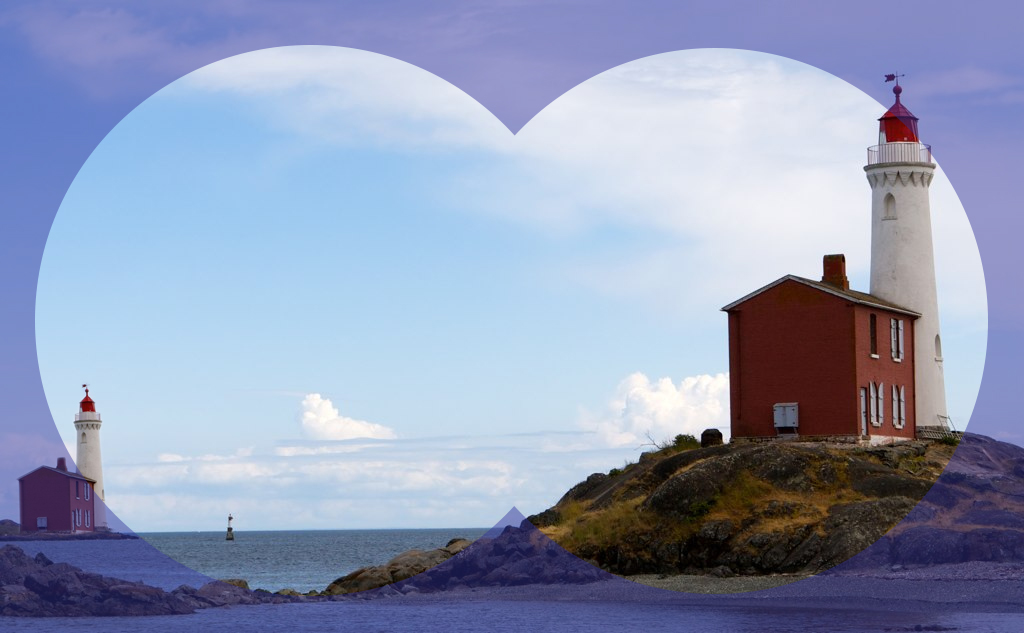
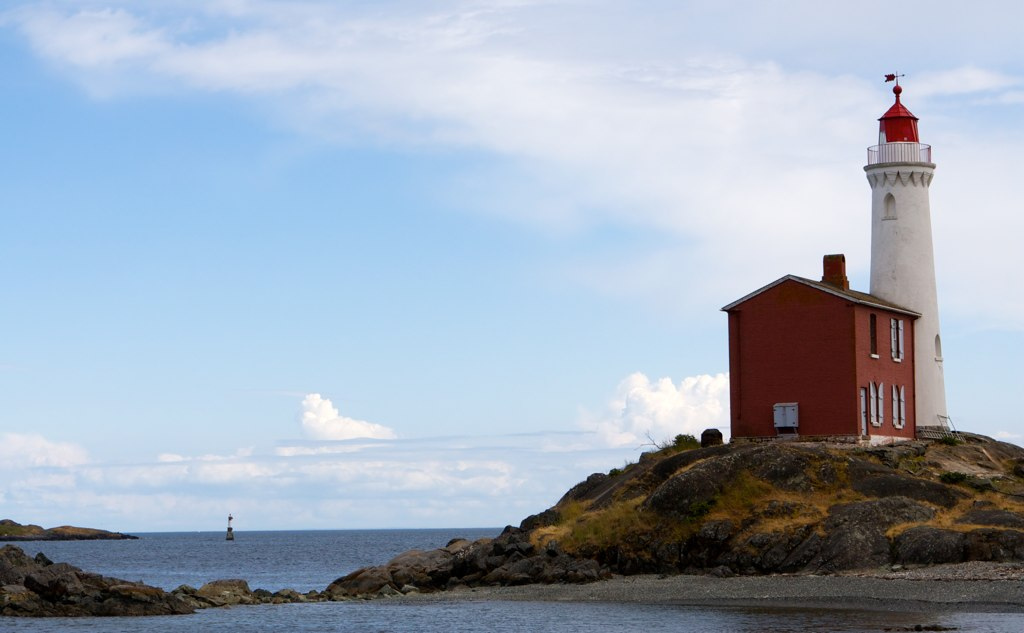
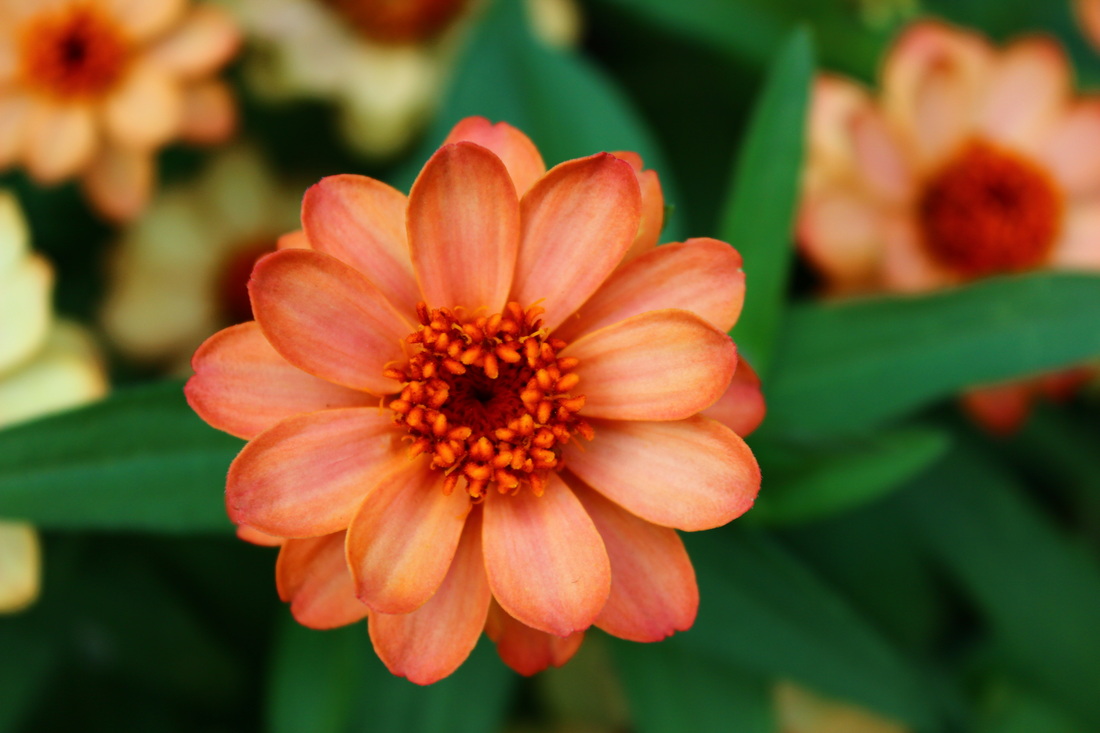
Last you will be adjusting the Butterfly and the Lighthouse images found below. For this editing activity, you will use the How to Use Selection Tools guide found the right and/or the video below to help guide you. Save the Butterfly with background removed. Then after you work on the LIghthouse, save the lighthouse file as the 3 different versions that you will create based on the guide.
All these images need to be saved into your Photo editing Folder to be turned in at the end of the unit.
Next you will work with editing using the erasers. Start with the stripes to get practice on using the background eraser tool. Then you will move on the the Tree branches completely removing the sky from the image.
Last you will be adjusting the Butterfly and the Lighthouse images found below. For this editing activity, you will use the How to Use Selection Tools guide found the right and/or the video below to help guide you. Save the Butterfly with background removed. Then after you work on the LIghthouse, save the lighthouse file as the 3 different versions that you will create based on the guide.
All these images need to be saved into your Photo editing Folder to be turned in at the end of the unit.
LondonWe will be using the following:
|
|
Tree Branches |
We will be using the following:
|

The Lighthouse
|
**In the video the button says Refine Edge....in the new version of Photoshop, it is now called Select and Mask
Directions to adjust the Butterfly:
|
We will be using the following tools:
|
| ||
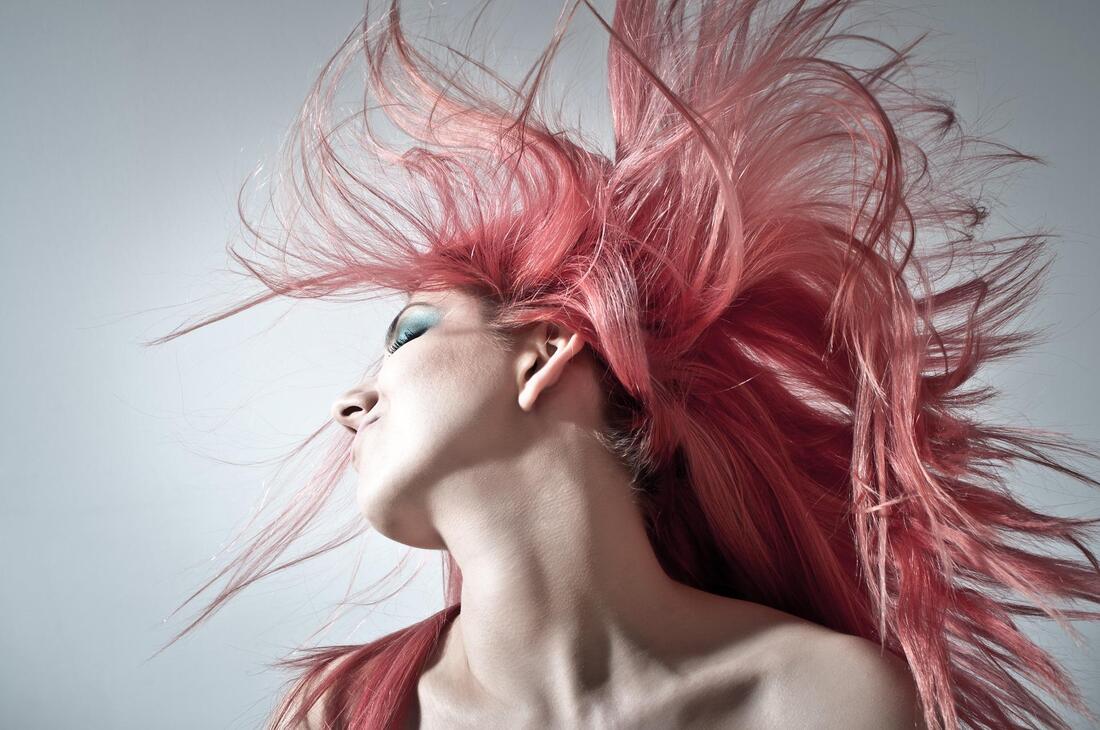
Refine HairAnother important skill to master is how to use selection tools and select and mask to refine hair. Hair can be very difficult to cut out so practicing this skill is essential to mastering photo editing! Once you have cut the girls out, add a colored background behind them. You will need to use the tools we discussed to help you adjust your selection to make sure the hair has been cut out as close as you are able too. As we work on complex selections, the ability to save and load selections can be very helpful. Save Selection and Load Selection can be found under the Select Menu.
Make sure you export the images as JPEGs as last name + first name + period + hair (1 or 2) and turn in!
|
|

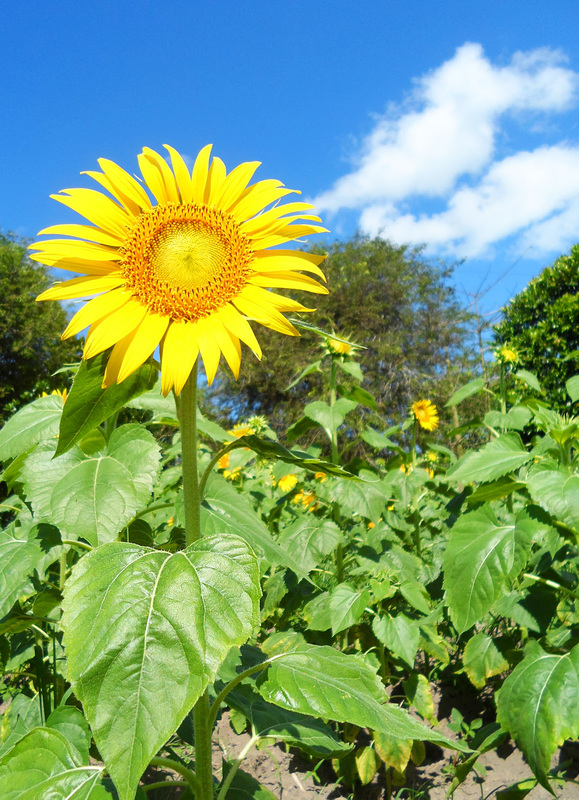
Cropping/Resizing & SelectionUse the vide and How to Resize Crop Guide to help you adjust the 4 images found here:
|
| ||

|
|
|
|
Frame ToolThe Frame tool (K) can be a great tool to have in your list of skills to help you work more efficiently! You can use this tool to “crop” images non-destructively in Ps. You have square and round options. Start by downloading the worksheet below so you can practice using the Frame Tool with the images I have provided. You will use the frame tool to adjust each image.
When you have finished, save your worksheet as .PSD file, last name +first name + period + frames and then export as a JPG file. You will turn in the JPG (jpeg) here. |
Worksheet:
| ||
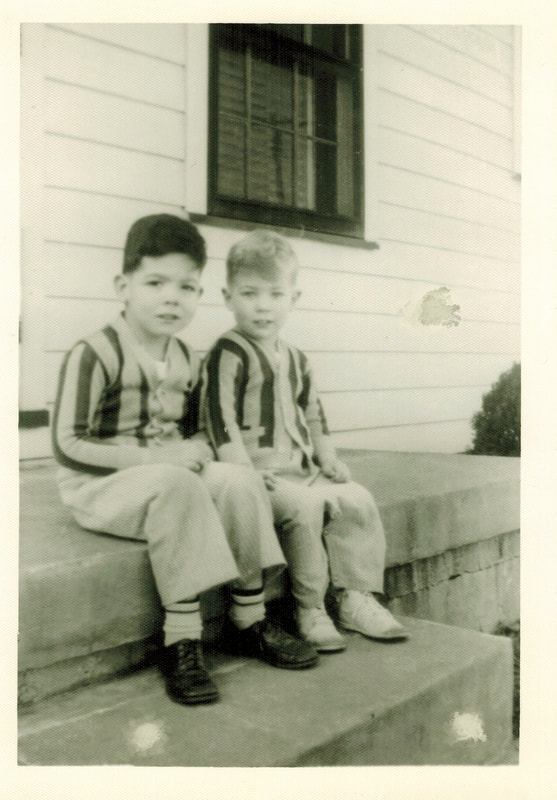
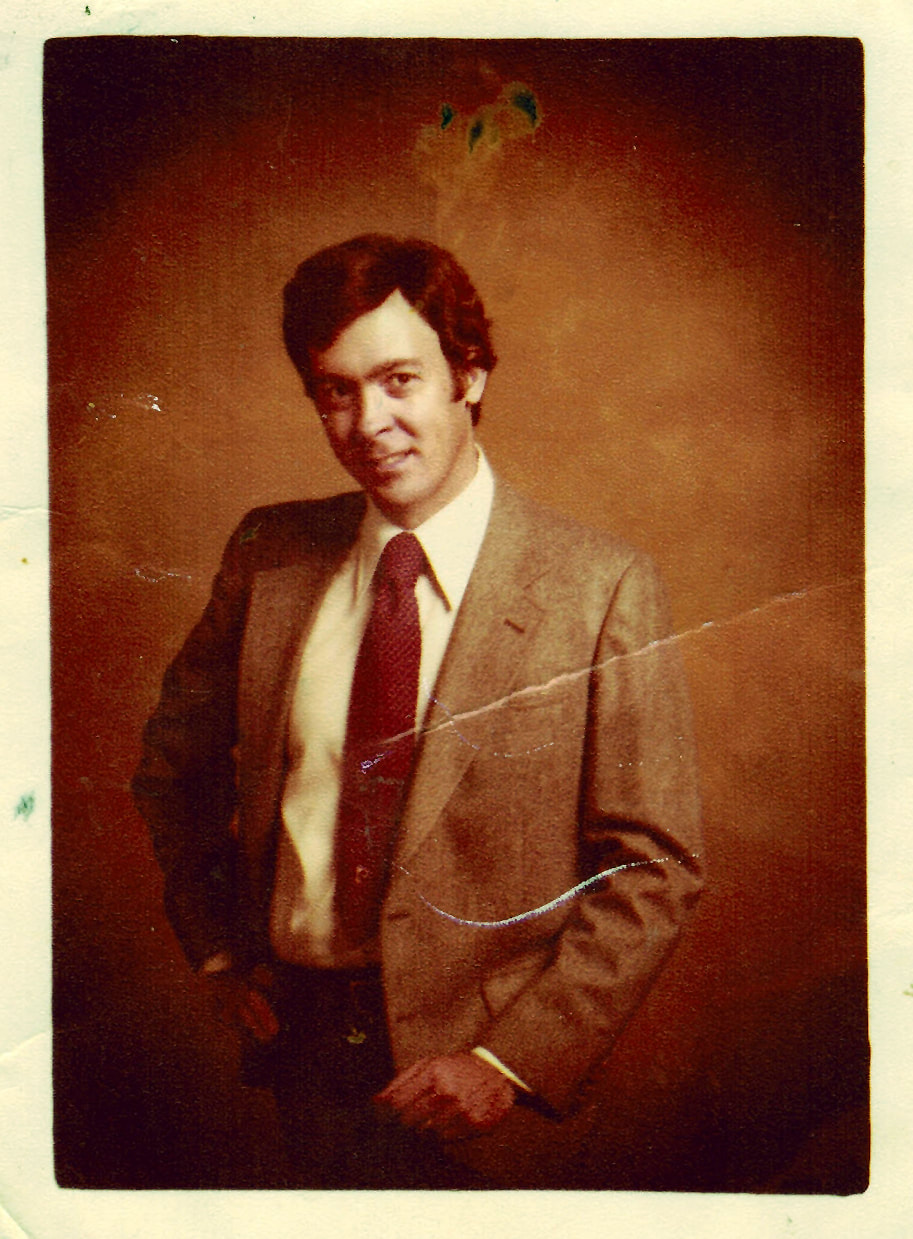
Correcting ImagesOne of the best things to use Photoshop for is correcting images for damage and discoloration. Using the skills we have learned so far, along with a few new techniques, your challenge is to download the 2 images below and correct the damages and try to make the colors look more accurate. Use the video to help you!
Correction 1 Image: (Kids)
Correction 2 Image: (Man)
Make sure you save both images as a .PSD and a .JPEG and save all the files into your Photo editing Folder to be turned in at the end of the unit. |
|
Filters:
|
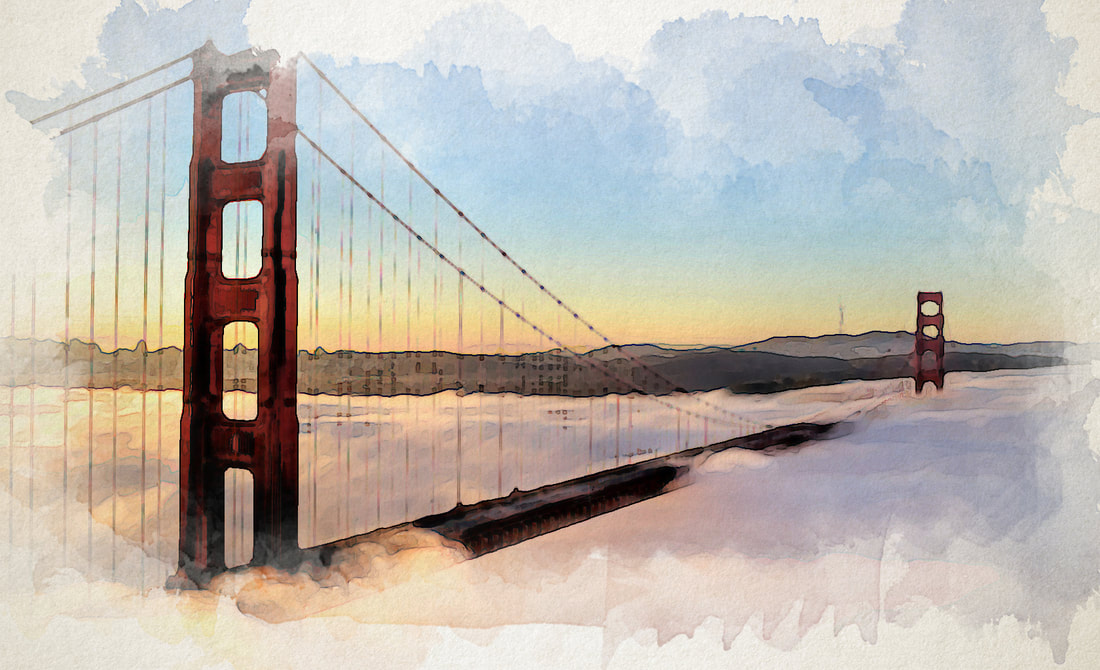
Last we will be working with how to add and layer filters to an image to create a piece of art. Using the Video Tutorial and Directions below or the Tutorial Link to the right to help you. You will edit the Golden Gate Bridge image and the paper texture image to create a watercolor piece of art. Once you have finished, you will then find your own high resolution image to use the same technique on.
All these images need to be saved into your Photo editing Folder to be turned in at the end of the unit. Now that your folder is complete, turn this in. |
Watercolor Golden Gate BridgeWe will be using the following tools:
Directions:
|
Brush:
| ||||||

