GRAPHIC DESIGN PROJECTS
|
Objectives:
102.00 Understand concepts and methods used to create digital graphics. 102.01 Explain design concepts used to create digital graphics. 102.02 Describe digital graphics production methods. 102.03 Compare and contrast digital graphics tools and their uses. 102.04 Utilize appropriate tools and methods to produce digital graphics. |
Essential Question:
What are the basic concepts used to create digital graphics? What are digital graphics production methods, software, and hardware? |
ILLUSTRATOR:
Intro to Illustrator
|
To learn Graphic design, the best place to start is in Adobe Illustrator. We will start with some simple activities to master the basics of the program before moving on to creative design using the tools we will learn. Start by making a Folder called Last Name + First Name + Period # + Intro to Illustrator. You will save all your files into this folder and turn it in for a Project grade.
|
Trace that Logo
|
Start by downloading the Trace that Logo.ai worksheet file to the right ad then using the examples of the original logos, you will trace them and create your own version. These recreation projects will teach you how to use the basics of Illustrator that we have been learning and prepare you for other projects in Illustrator. I have given you the item to trace for each logo to recreate using what we have learned using the tools in the intro to illustrator unit. I have provided you with 2 tutorials for the maple leaf and texas logos to help you.
You will name you file Last name + First name + Period # + Trace, save your 4 completed logo graphics on the worksheet as an .AI (Illustrator file). Once finished, turn the file via AirDrop. |
Worksheet:
Extra Assignment:
Trace this new set of logos
Tutorials:
| ||||||||
|
|

|
|
Smiley Face Activity
|
Create a “Have a Nice Day” Smiley that has some sort of theme. Challenge yourself to include gradients, feathering, or transparency. Your smiley should have lots of shapes. You must also add a slogan to your smiley with an appropriate font. The slogan should be a variation on the “Have a Nice Day” slogan, based on your theme. The font should match your theme and still be readable. You must include the following:
Save your completed graphic as a AI (Illustrator file) and then export as a PNG file. Label it as last name + first name + period + smiley and save in your graphics folder. Submit only the PNG file to via AirDrop. It's a Pun Project!
|
Worksheet:
| ||||||
Typography Art
|
For this project, we are going to explore how to use all the different types of Text tools that we learned in Intro to Illustrator. You will create a piece of art, ONLY using Text!! You must you use color and pay attention to using a variety of fonts, font sizes, and angles of all your text. DON'T BE BASIC!
For your art piece, you must use the following in your design:
You will be graded on the complexity of your design. You must SKETCH First!! Look at the example to the right -------> as inspiration. |
|
Minimalist Redesign
|
Using your Illustrator, you will need choose either a Book, a Video game, a Movie, or really anything that has a "front" design. You will need to look up the original cover/poster to use as inspiration. You will create a minimalist version with the least amount of elements possible that still communicates the book or movie clearly to your audience.
Everything must be an original drawing of yours, no internet images!! Name the file lastname + firstname + period# + minimalist. Save it as an .AI and then export your file to a .PNG a submit it to your teacher. Look at the examples for reference. |
|
Polygon Animal Project
|
Create a Colorful Polygonal Animal by selecting an image of animal online and then using polygonal shapes and triangles to design a colorful animal shape recreation. You will only use color and the pen tool to create polygon shapes. See the examples for ideas. Your image size is 800 width and 600 height.
Save your completed graphic as a AI (Illustrator file) and then export as a JPEG file. Label it as last name + first name + period # + animal and save in your graphics folder. Submit only the JPEG file to the right. Place your .ai file in your projects folder on your desktop. edit. As you work, save your project as a .psd and name it lastname + firstname + period # + animal.ai. When you are finished, save it as a PNG with the same name and submit it to your teacher via Air Drop. Remember to add a jpeg copy to your portfolio folder! Make sure you review the rubric for this project to make sure you aren't going to lose any points! |
|
Google Doodle Logo ProjectEach day Google has a new logo, and now we will work on making our own version. You will need to start a new Illustrator file at 12 inches by 5 inches, though if you need more space this can be adjusted on your artboard. To create your google logo, use the guidelines below and see some of past student work. You may use images as references, but you must redraw and adjust so the images resembles the letters in GOOGLE.
|
Save as PNG:
|
As you work, save your project as a .AI and a.PNG file and name it lastname + firstname + period# + google. When you are finished, save it as a .AI and a .PNG with the same name and turn in BOTH to your teacher. Remember to add a .PNG copy to your portfolio folder!
PHOTOSHOP:
Who am I?

Download the Who I am template file to the right. When you open this, it will launch in Photoshop automatically. We have gone over using some of the basic tools you will need to complete your Who I am file. This is a basic template, you will make it your own with new colors fonts, images, etc...
When you have finished you will need to save it twice: 1. File, Save, change file name to the new format: Last name, First name, Period #, WhoIAm, place this is your folder, and then click Save. (This is how we will save all of our files for this class and be a portion of your grade, so make sure to take note of the way you named your file!) 2. File, Save As, change format to JPEG, make sure it is in your folder and then click Save. |
Download this:
| ||||
Sandwich Activity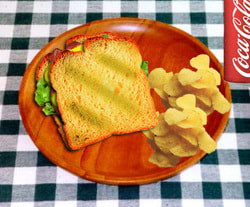
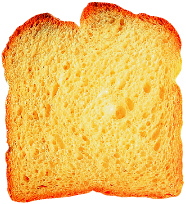
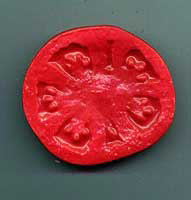
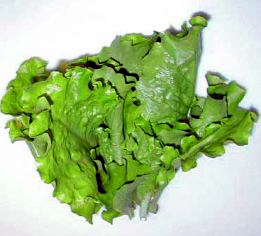
You have been challenged to create an image of a BLT sandwich for a client that looks like the real thing. You have been supplied you with a graphic of a plate from the dinner. The objective is to obtain a better understanding of Photoshop layers by creating the layers of a sandwich on the plate. You are to follow the directions given by the project manager for the target audience to complete the project.
Download the files linked to the right of the documents and images needed to complete the project. Save them in your Graphics folder on your desktop. Use my instructions, watch the demonstrations in class, and use your time in class to assemble your sandwich and add your sides. Make sure to label all of your layers in the Layers Palette. When you are finished save the file (as a .psd file) to your computer in the Graphics folder. Save the file as lastname + firstname + sandwich.psd (ex. scogginsemilysandwich.psd). This is one of the few times you will not save both a PSD and JPEG of your work. Submit only the PSD of your work (it cannot be graded as a jpeg). When ready, submit it to your teacher via Air Drop. Remember to add a jpeg copy to your portfolio folder! Make sure you've reviewed the rubric for this project to make sure you aren't going to lose any points! |
Rubric:
| ||||||||||||||
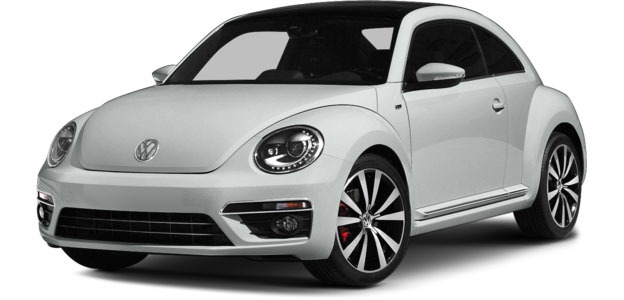
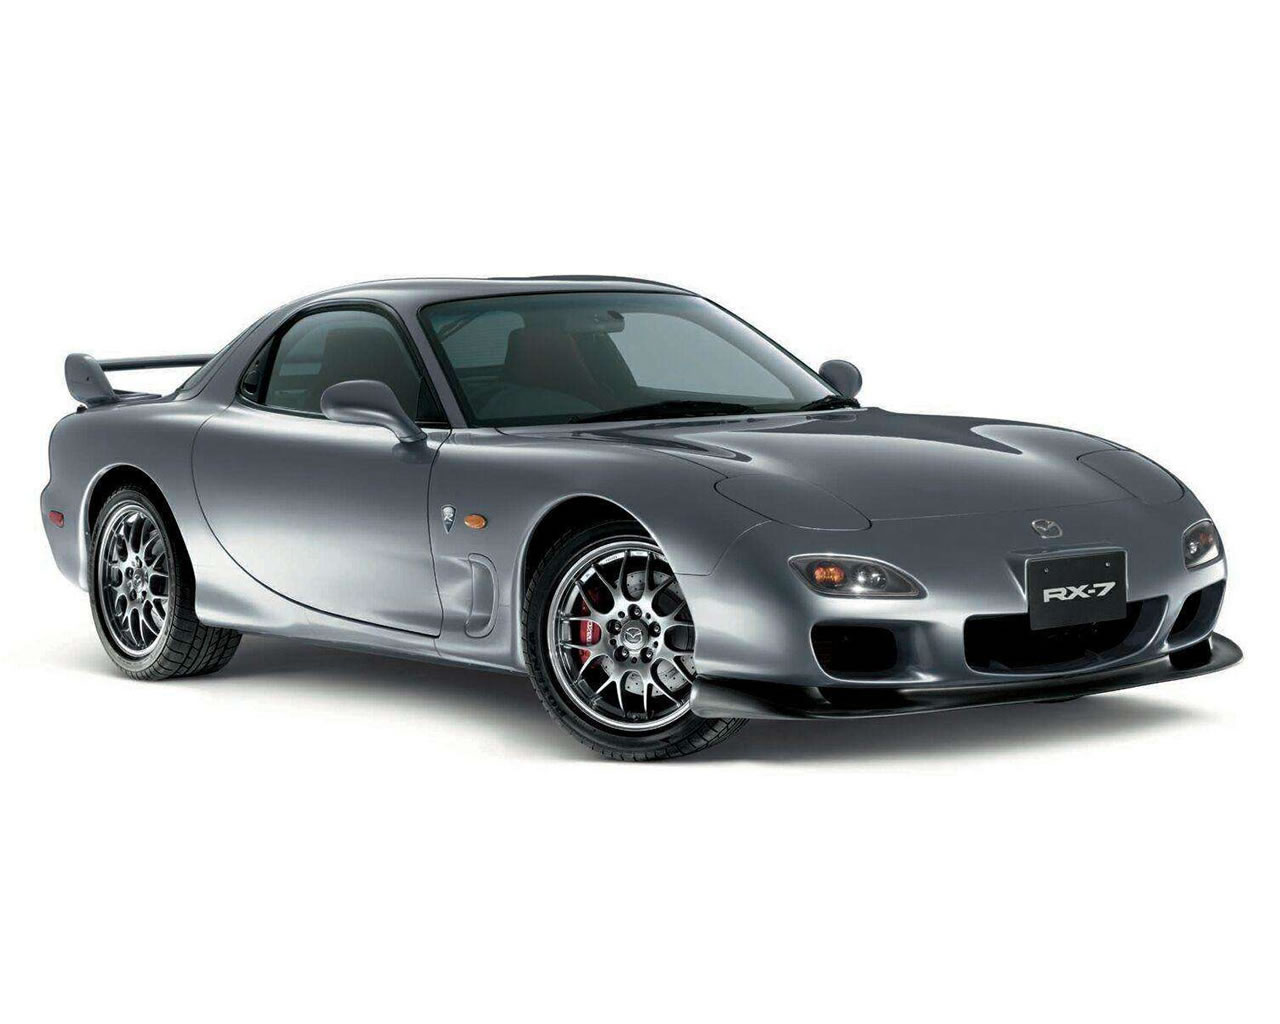
Beetle Ad ProjectYou've been hired as a graphic designer for a marketing firm. The first assignment the company's given you is to design an advertisement for an automobile . Your job is to personalize the picture of the car with your own colors, logos, and background. Your final product must be a well-developed, attractive advertisement complete with the car's manufacturer logo and unique catchy slogan.
use either the beetle car or the Mazda car image files to the right. Paint them with any color and design your mind creates, and add the logo and background to incorporate your personalized style. BE CREATIVE! Take out the white background and place them in a setting of your choosing. Finally, add some text that conveys your unique slogan to finish off your advertisement. Be sure to arrange your components in a way that utilizes the Elements and Principles of Design and accomplishes your intended purpose. Also, save your file often to avoid losing any of your work. As you may notice, I have provided a final example of what one advertisement may look like - but don't try to copy it! Generate something that shows your skills in Photoshop, as well as your creativeness. As you work, save your project as a .psd and name it lastname + firstname + period # + beetle.psd. When you are finished, save it as a JPEG with the same name (ex: scogginsemily1stbeetle.jpg) and submit it to your teacher via Air Drop. Remember to add a jpeg copy to your portfolio folder! Review the rubric for this project to make sure you aren't going to lose any points! |
Rubric:
| ||||||||||||
Photo Editing
Reflections Project
Now it's time to showcase your talents! You have been hired by a marketing company that wants you to design an advertisement for their biggest client. Your job is to take a group of products and showcase them on a stage that reflects their image to make them seem more appealing and attractive.
Create a new Photoshop document that is 720 x 486 pixels. Create a stage and a background for your products. Place at least three different objects on the stage. All of the products must be made by the same manufacturer. Find that manufacturer's logo and place it on the background wall of your stage. After you have removed any background and made your products more attractive, create a reflection on the stage for each one. Make sure you orient the objects in the most appealing way and make them look good! Use the tutorial to help you! Once you have finished placing your objects on the stage and creating reflections (remember, ANY object that touches the stage must have a reflection), save your work as a .PSD and as a JPEG. Name it firstlame+lastname + period # + reflections (ex: scogginsemily1streflections.jpg). Submit ONLY the PSD to your teacher via Air Drop. Remember to add a jpeg copy to your portfolio folder! Review the rubric for this project to make sure you aren't going to lose any points! |
| ||||
Magazine Cover Project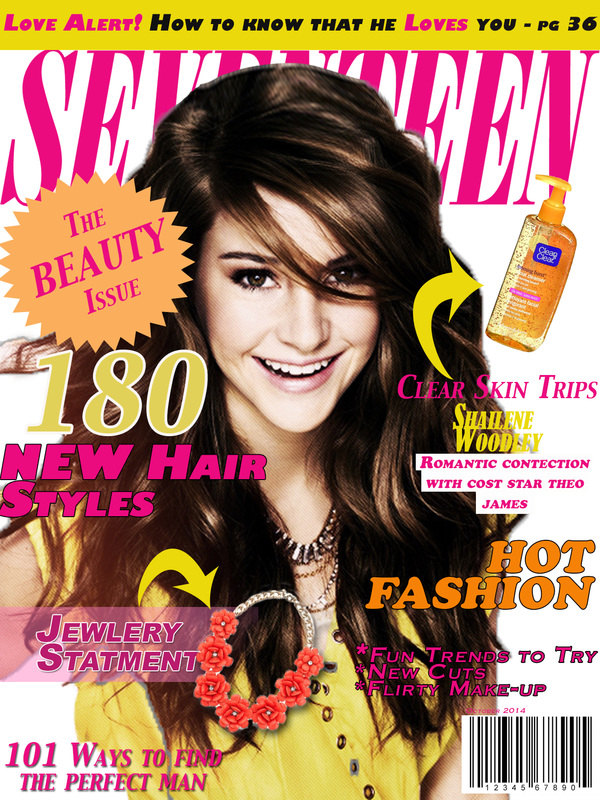
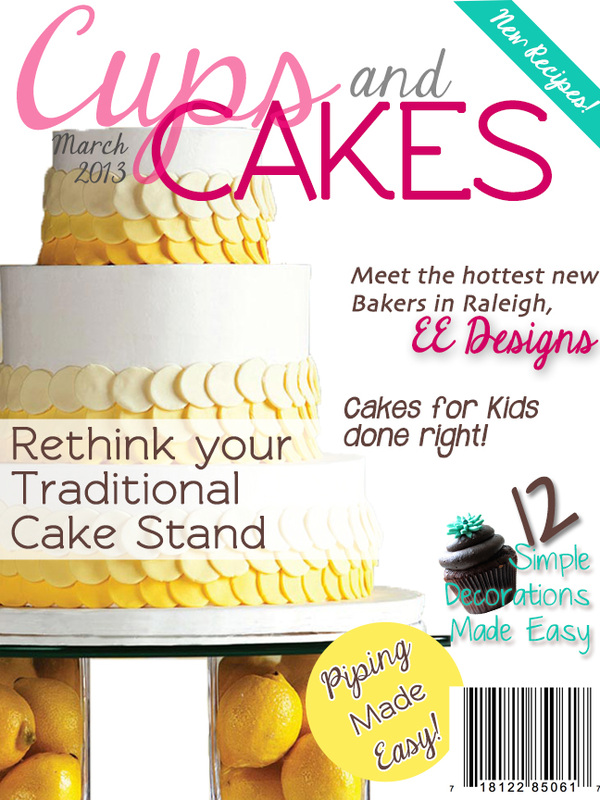
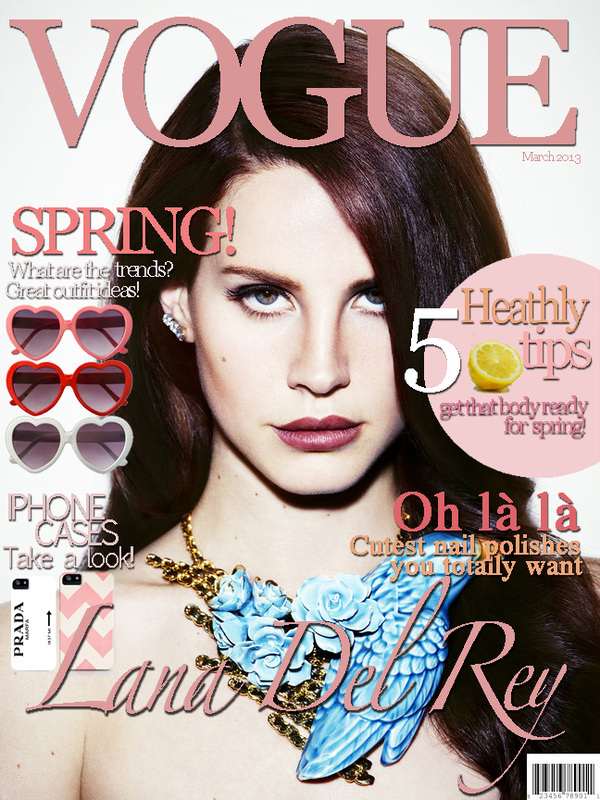
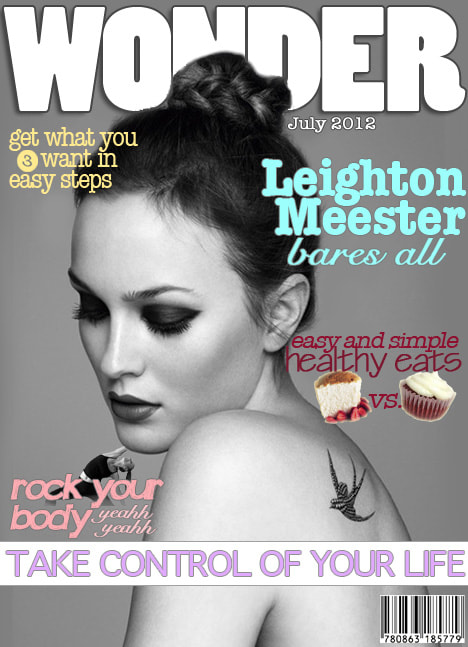
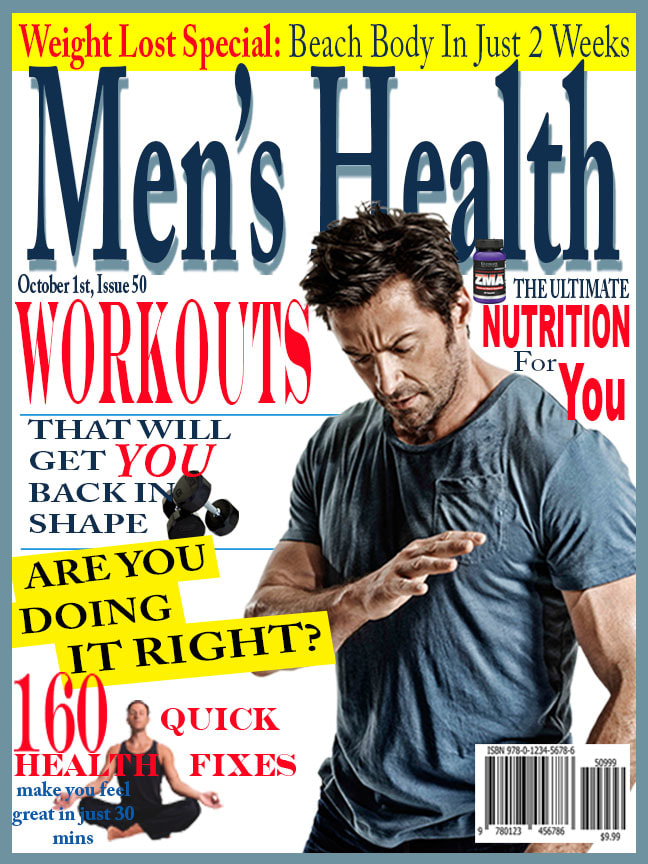
We have done many projects in Photoshop and learned a great deal of skills. Now it is time to apply all this new found knowledge and skills to an original design of your own. In this project, you will apply the Elements and Principles of Design to create an original, well designed magazine cover.
You will need to create a magazine of your very own! Open a new document in Photoshop, the dimensions will need to be 9 inches by 12 inches. You will be creating a logo/title for your magazine to go across the top. You will need to add a large cover image and a minimum of 2 smaller images on the cover. The large image should connect or interfere with your magazine heading in some way. These could be celebrities, products, places, etc...Make sure that all the images you use are masked cleanly and flow together. Then you will need to add your various articles and headlines to your magazine cover. You will need a minimum of 5 articles. Use various appropriated fonts that work together with your design. Pay extra attention to the principles and elements of design (color, line, shape, textures, contrast, balance, unity, emphasis, and proportion!!) Focus on the layout of all of your elements together to create a good looking, clean designs. Don't forget to add the month, year, and a bar-code Make your cover look as real as possible! If you get done early, you will also need to design 1 page that coordinates with one of the articles listed in your other designs. See example to the right. As you work, save your project as a .psd and name it lastname + firstname + period # + magazine.psd. When you are finished, save it as a JPEG with the same name (ex: scalesemily1stmagazine.jpg) and submit it to your teacher via Air Drop. Remember to add a jpeg copy to your portfolio folder! Make sure you look at the rubric posted to the right to ensure you have included everything you need to!
|
Checklist:
Rubric:
| |||||||


