PHOTOSHOP ADVANCED
Objectives:
2.00 Apply procedures to use Adobe Photoshop for visual communications.
2.01 Understand the Photoshop Creative Cloud interface and program settings.
2.02 Understand document structure and non-destructive editing in Photoshop Creative Cloud.
2.03 Apply procedures to create and modify visual elements using Adobe Photoshop Creative Cloud.
2.04 Apply procedures to publish digital images using Adobe Photoshop Creative Cloud.
Elements and Principles of Design Review
|
| ||||
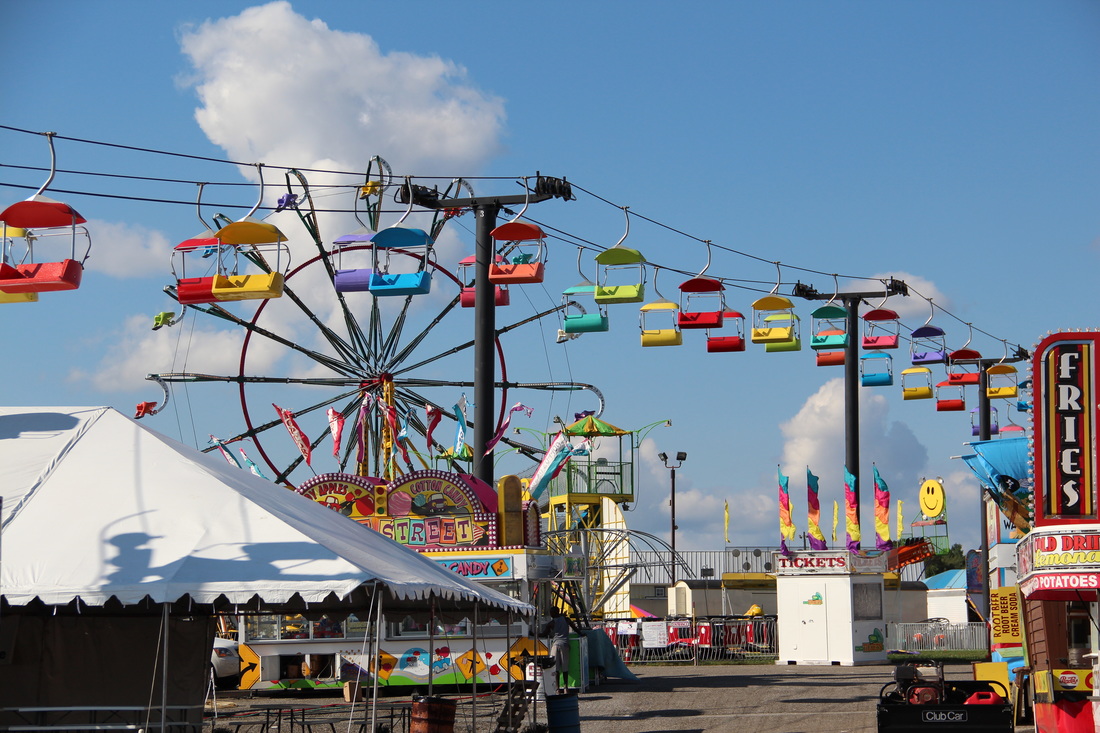
Desk Layering Activity: Review Activity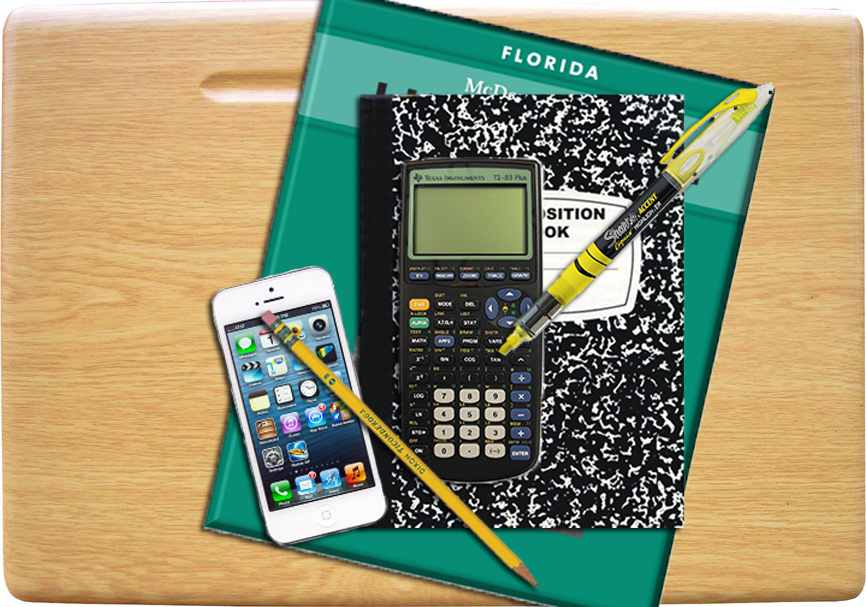
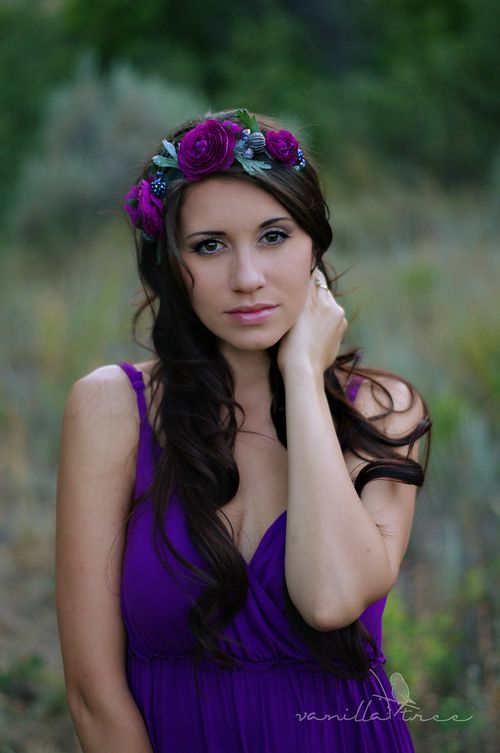
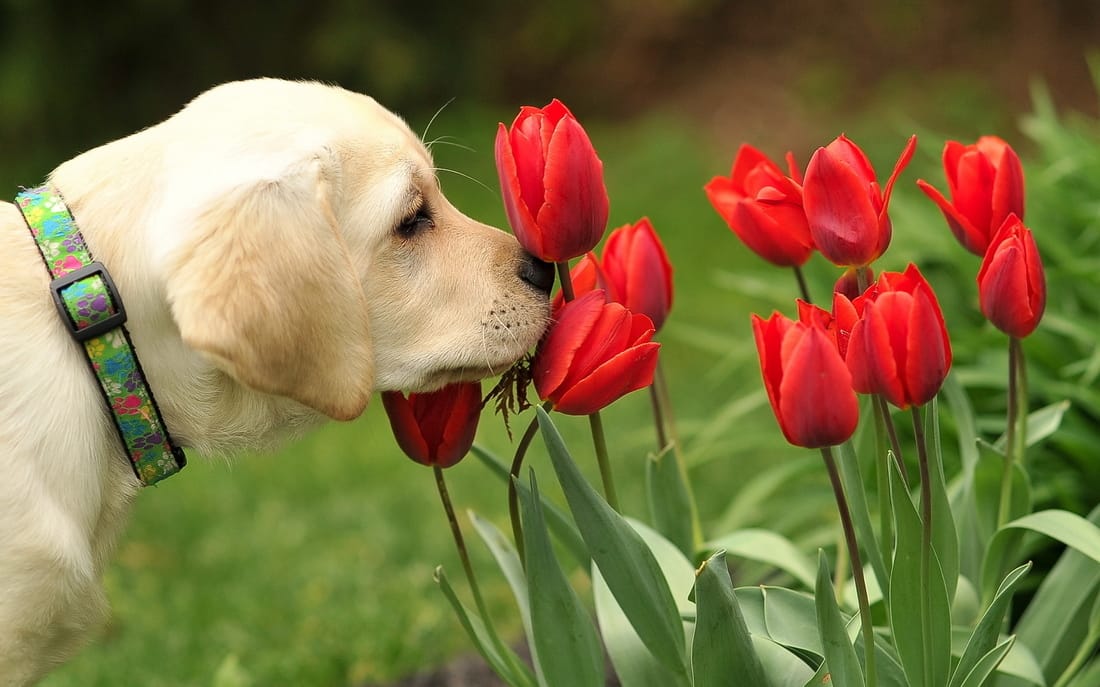
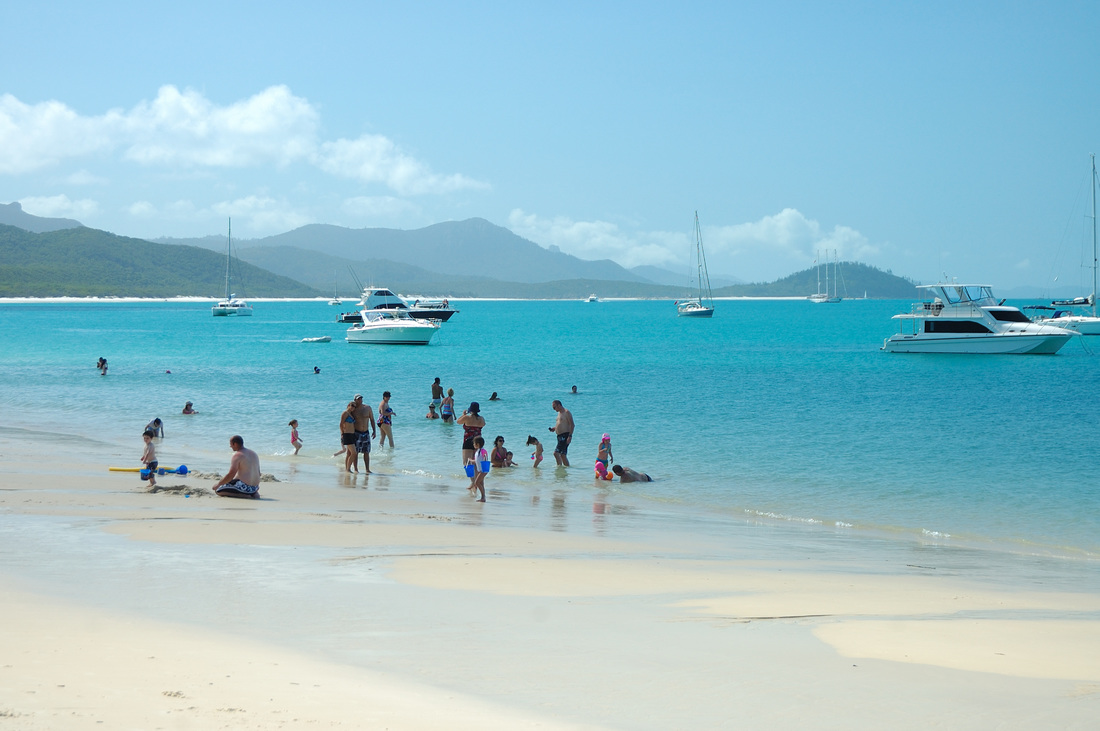
This is a refresher on how to Use Photoshop and remove backgrounds. This shouldn't take you more than 30 minutes. Use the images provided to create a layered desk like the example. You will need to cut out and mask each image cleanly.
Save this as a .PSD as last name + first name + period + desk and turn into Scales via AirDrop. Make sure to save it to your Photoshop Folder. |
Tutorial:
Rubrics:
| ||||||
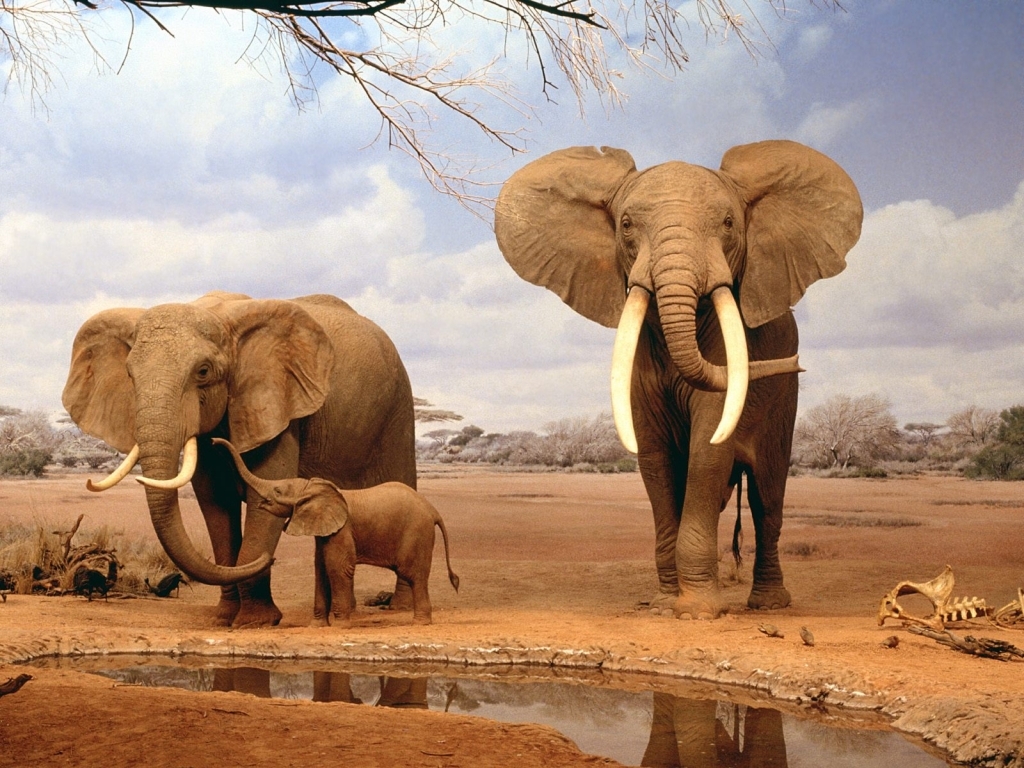
Lettering Activity: Review Activity
We are going to start small today with a simple activity to continue helping your remember how to use Photoshop. You will use the tutorial found to the right along with a group of images that you will find online (large, high quality only please) to create your own Lettering Image.
You need need to first open up Photoshop. When you are all done, save this as a .JPEG as last name + first name + period + lettering and turn into Scales via AirDrop. Make sure to save it to your Photoshop Folder. |
Tutorial:
| ||
Mash Ups
|
How do you take 2 different pictures and make them into a mash it up that is completely integrated together? Select a minimum of 2 photographs that you think could be put together in a way that makes a new thing. Make sure you can't tell where the mash ups occur. BE CREATIVE!! You will need to make at least 3 Mash Ups. Make sure you don't use any of the inspirations ideas you see here. Instead BE CREATIVE!! This is a test of your photoshop abilities and your creative. When I look at this, I should not be able to tell where the images were combines. You will need to find your own images, make sure you look for high resolution images to work with.
You will need to save both images as a .JPEG as lastname + firstname + period + Mash up 1, Mash up 2, etc.... Then put all the files, with the original images into a folder called last name + first name + period + mash up and turn into Scales via Air Drop. |
|
Reflections Project
Now it's time to showcase your talents! You have been hired by a marketing company that wants you to design an advertisement for their biggest client. Your job is to take a group of products and showcase them on a stage that reflects their image to make them seem more appealing and attractive.
Create a new Photoshop document that is 720 x 486 pixels. Create a stage and a background for your products. Place at least three different objects on the stage. All of the products must be made by the same manufacturer. Find that manufacturer's logo and place it on the background wall of your stage. After you have removed any background and made your products more attractive, create a reflection on the stage for each one. Make sure you orient the objects in the most appealing way and make them look good! Use the tutorial to help you! Once you have finished placing your objects on the stage and creating reflections (remember, ANY object that touches the stage must have a reflection), save your work as a .PSD and as a JPEG. Name it firstlame+lastname + period # + reflections (ex: scogginsemily1streflections.jpg). Submit ONLY the PSD to your teacher via Air Drop. Remember to add a jpeg copy to your portfolio folder! Review the rubric for this project to make sure you aren't going to lose any points! |
| ||||
Advanced Photo Editing
Blending, Feather, and Smoothing
|
Use the How to Blend, Feather, and Smooth to remove the from the image to the right. Place on a solid colored background with all the edges smooth all the edges. Then you will need to go and find 2 additional images you can apply this skill too and change the size of the main subject. Look for high resolution images. You will need to save this as a .JPEG as lastname + firstname + period + Blend 1 (2,3) and put into your Advanced Photo Editing Folder.
Refine Edge is now called SELECT and MASK!
|
| ||
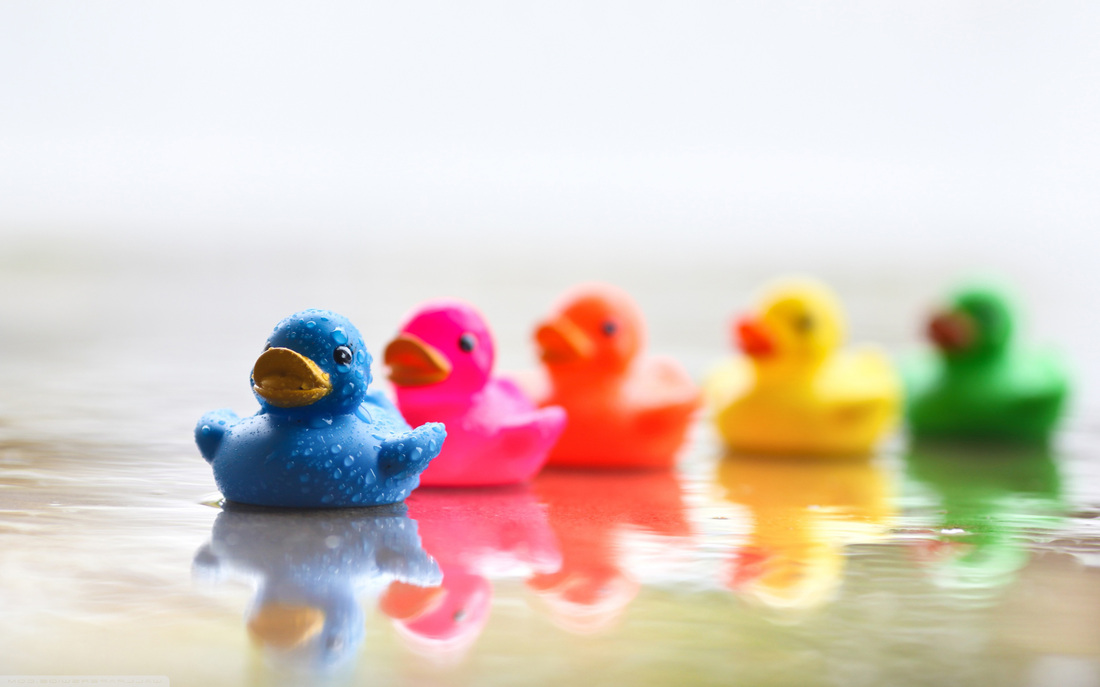
Advanced Color EffectsUse the How to Use Advanced Color to take the rubber duck image found here to create a collage of different versions of this image. In Photoshop you will create 9 different versions of the image with all different color effects. Then place all of these in a 1 page spread, in a 3x3 layout. You will need to save this as a .JPEG as lastname + firstname + period + AdvancedColor and put into your Advanced Photo Editing Folder.
Gradient Maps
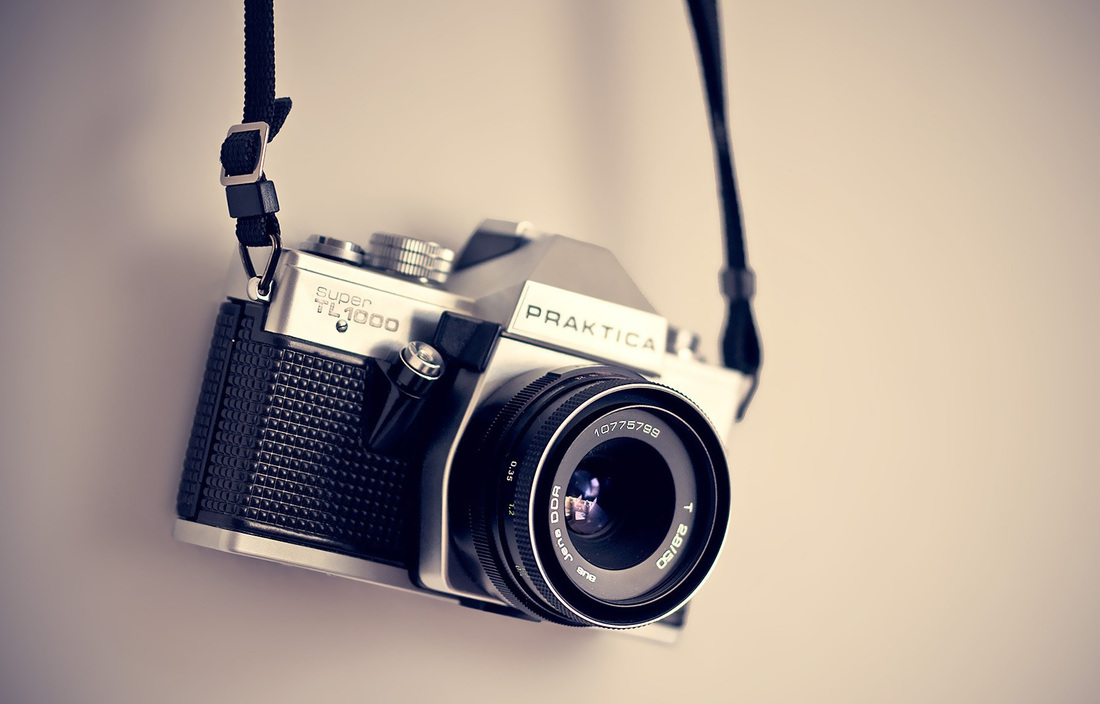
Use the How to Use Gradient Maps to take the camera and the images found here and apply 3 different gradient maps to the image and create a collage of different versions of this image. In Photoshop you will create 3 different versions of the image with all different custom gradients. Then place all of these in a 1 page spread. You will need to save all of these as a .JPEG as lastname+firstname+period+Gradients and put into your Advanced Photo Editing Folder. |
| ||||
Then download the Coffee Video mp4 file also to the right that you can use to edit just like the tutorial video and my example at the bottom.
Do you see the subtle movement? Next you will make your own version. I have provided several videos for you to pick from. Download the folder to the right and pick 1 of the videos below to try the technique on. You will need to save all of these as a .JPEG as lastname + firstname + period + Cinemagraph and put into your Advanced Photo Editing Folder. |
| ||||||

|
|
| ||||||||||||
Applying Advanced Photo Editing Project
|
For this Project, you will be applying what we have learned to edit the photos below. Use the checklist on the right to help you stay on track. After you finish, answer the questions at the bottom. All final images will need to be saved into a folder labeled last name + first name + period + Applied Editing. Each file needs to be saved into this folder as .PSD and .PNG and labeled with the corresponding number found on the checklist. Make sure you include your checklist and AirDrop it to Scales when you have finished.
Use the photos to the right to edit as the following:
|
Checklist:
| ||||||
|
|
|
|
|
|
|
|
|
Surreal Photo Merge Project
|
You will be creating a photo merge collage using multiple images and text to convey a message or tell a story of some kind to your audience. You will need to choose a theme and brainstorm the message you want to project. Use the Internet (Google Images) to find images to work with. Make sure you are only choosing Large, High Quality images to work with. You must use a minimum of 10 images. But, keep in mind; ALL images need to be modified in multiple ways. 1 image will need to serve as your background (but needs to be edited as well).
Use the skills and techniques we have been learning in the classwork assignments during class. It is up to you what canvas size you will need. Remember to not only edit your photographs but to create a visually pleasing layout and design. When you have completed your photo merge, you will need to write a 2 paragraph paper reflecting on what you have create, what techniques you used, etc…. How would you combine images that do not go together at all? How can you make one flow to the other seamlessly? Think back to the Photo Editing in order to help you. Be creative!
After you have finished, save it as a .psd and name it last name + first name +period + photomerge.psd. Make sure you also save it as a .JEPG. You will need to turn in both files to Ms. Scales' via AirDrop in a folder. Your folder will be named last name + first name +period + photomerge and need to include your original images, your Photoshop project file and final jpeg image, and your checklist. Please make sure that the original images that you edited are all named based on what you listed the images as on your Checklist. Review the rubric to ensure you won't lose any points. |
Checklist:
Rubric:
Inspiration Videos:
| ||||
