EXTRA PROJECTS IF DONE EARLY
Photoshop:
Photoshop by Numbers |
Download one of these famous pieces of artwork to paint by number using Photoshop. Use these to just take a break and relax your mind
|
|
| ||||||||||||
Warhol Filter Effect Project
|
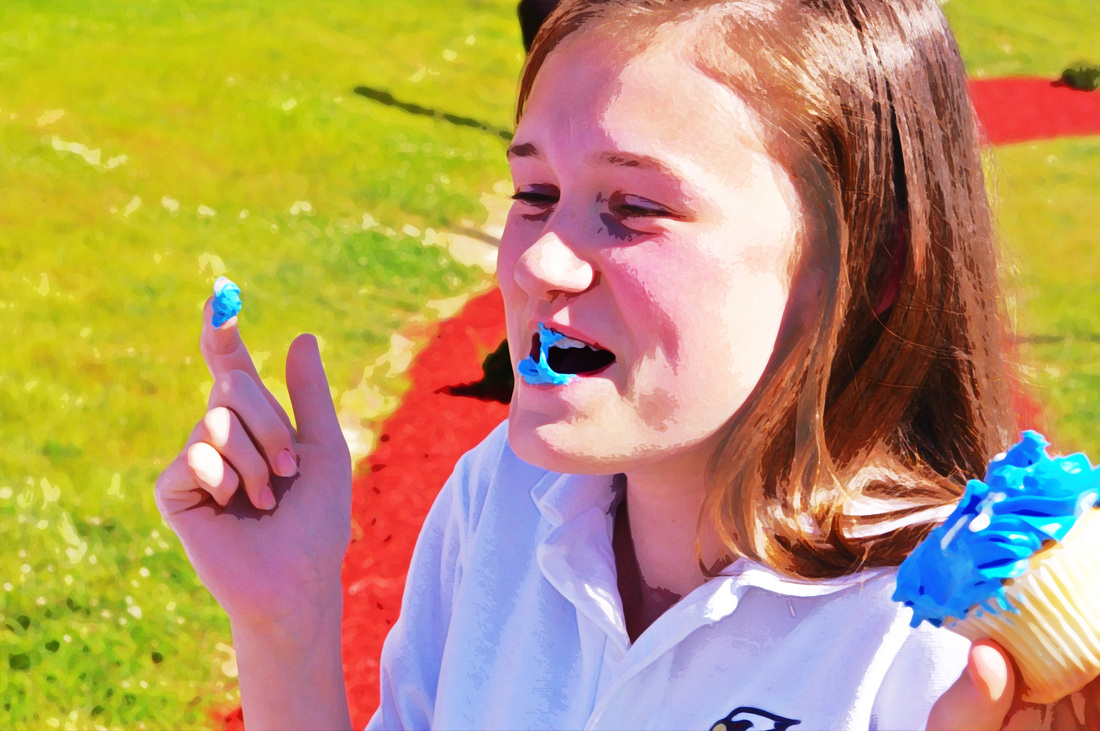
First start by following the tutorial to create a Warhol image. Use the internet to find a picture you would like to modify. You will use this picture again, so make sure you save it.
In Photoshop, filters allow us to create fun and interesting effects to our images. We will use Photoshop filters to our own Warhol Effect. Save it to your Photoshop or Graphics folder and open it in Photoshop. This time you will create nine different renditions of your picture. Apply a different filter to your photo nine different times and use Save As to create all of your renditions. Remember, if you save your work instead of using Save As, you will overwrite your original photo and have to go find it again. Once you have applied nine different filters to your photo, compile them into a collage of the 9 images. Save your project as Last Name + First Name + Period # + filters (ex:scogginsemily1stfilters.jpg). Then turn in to Scales via AirDrop. |
| ||
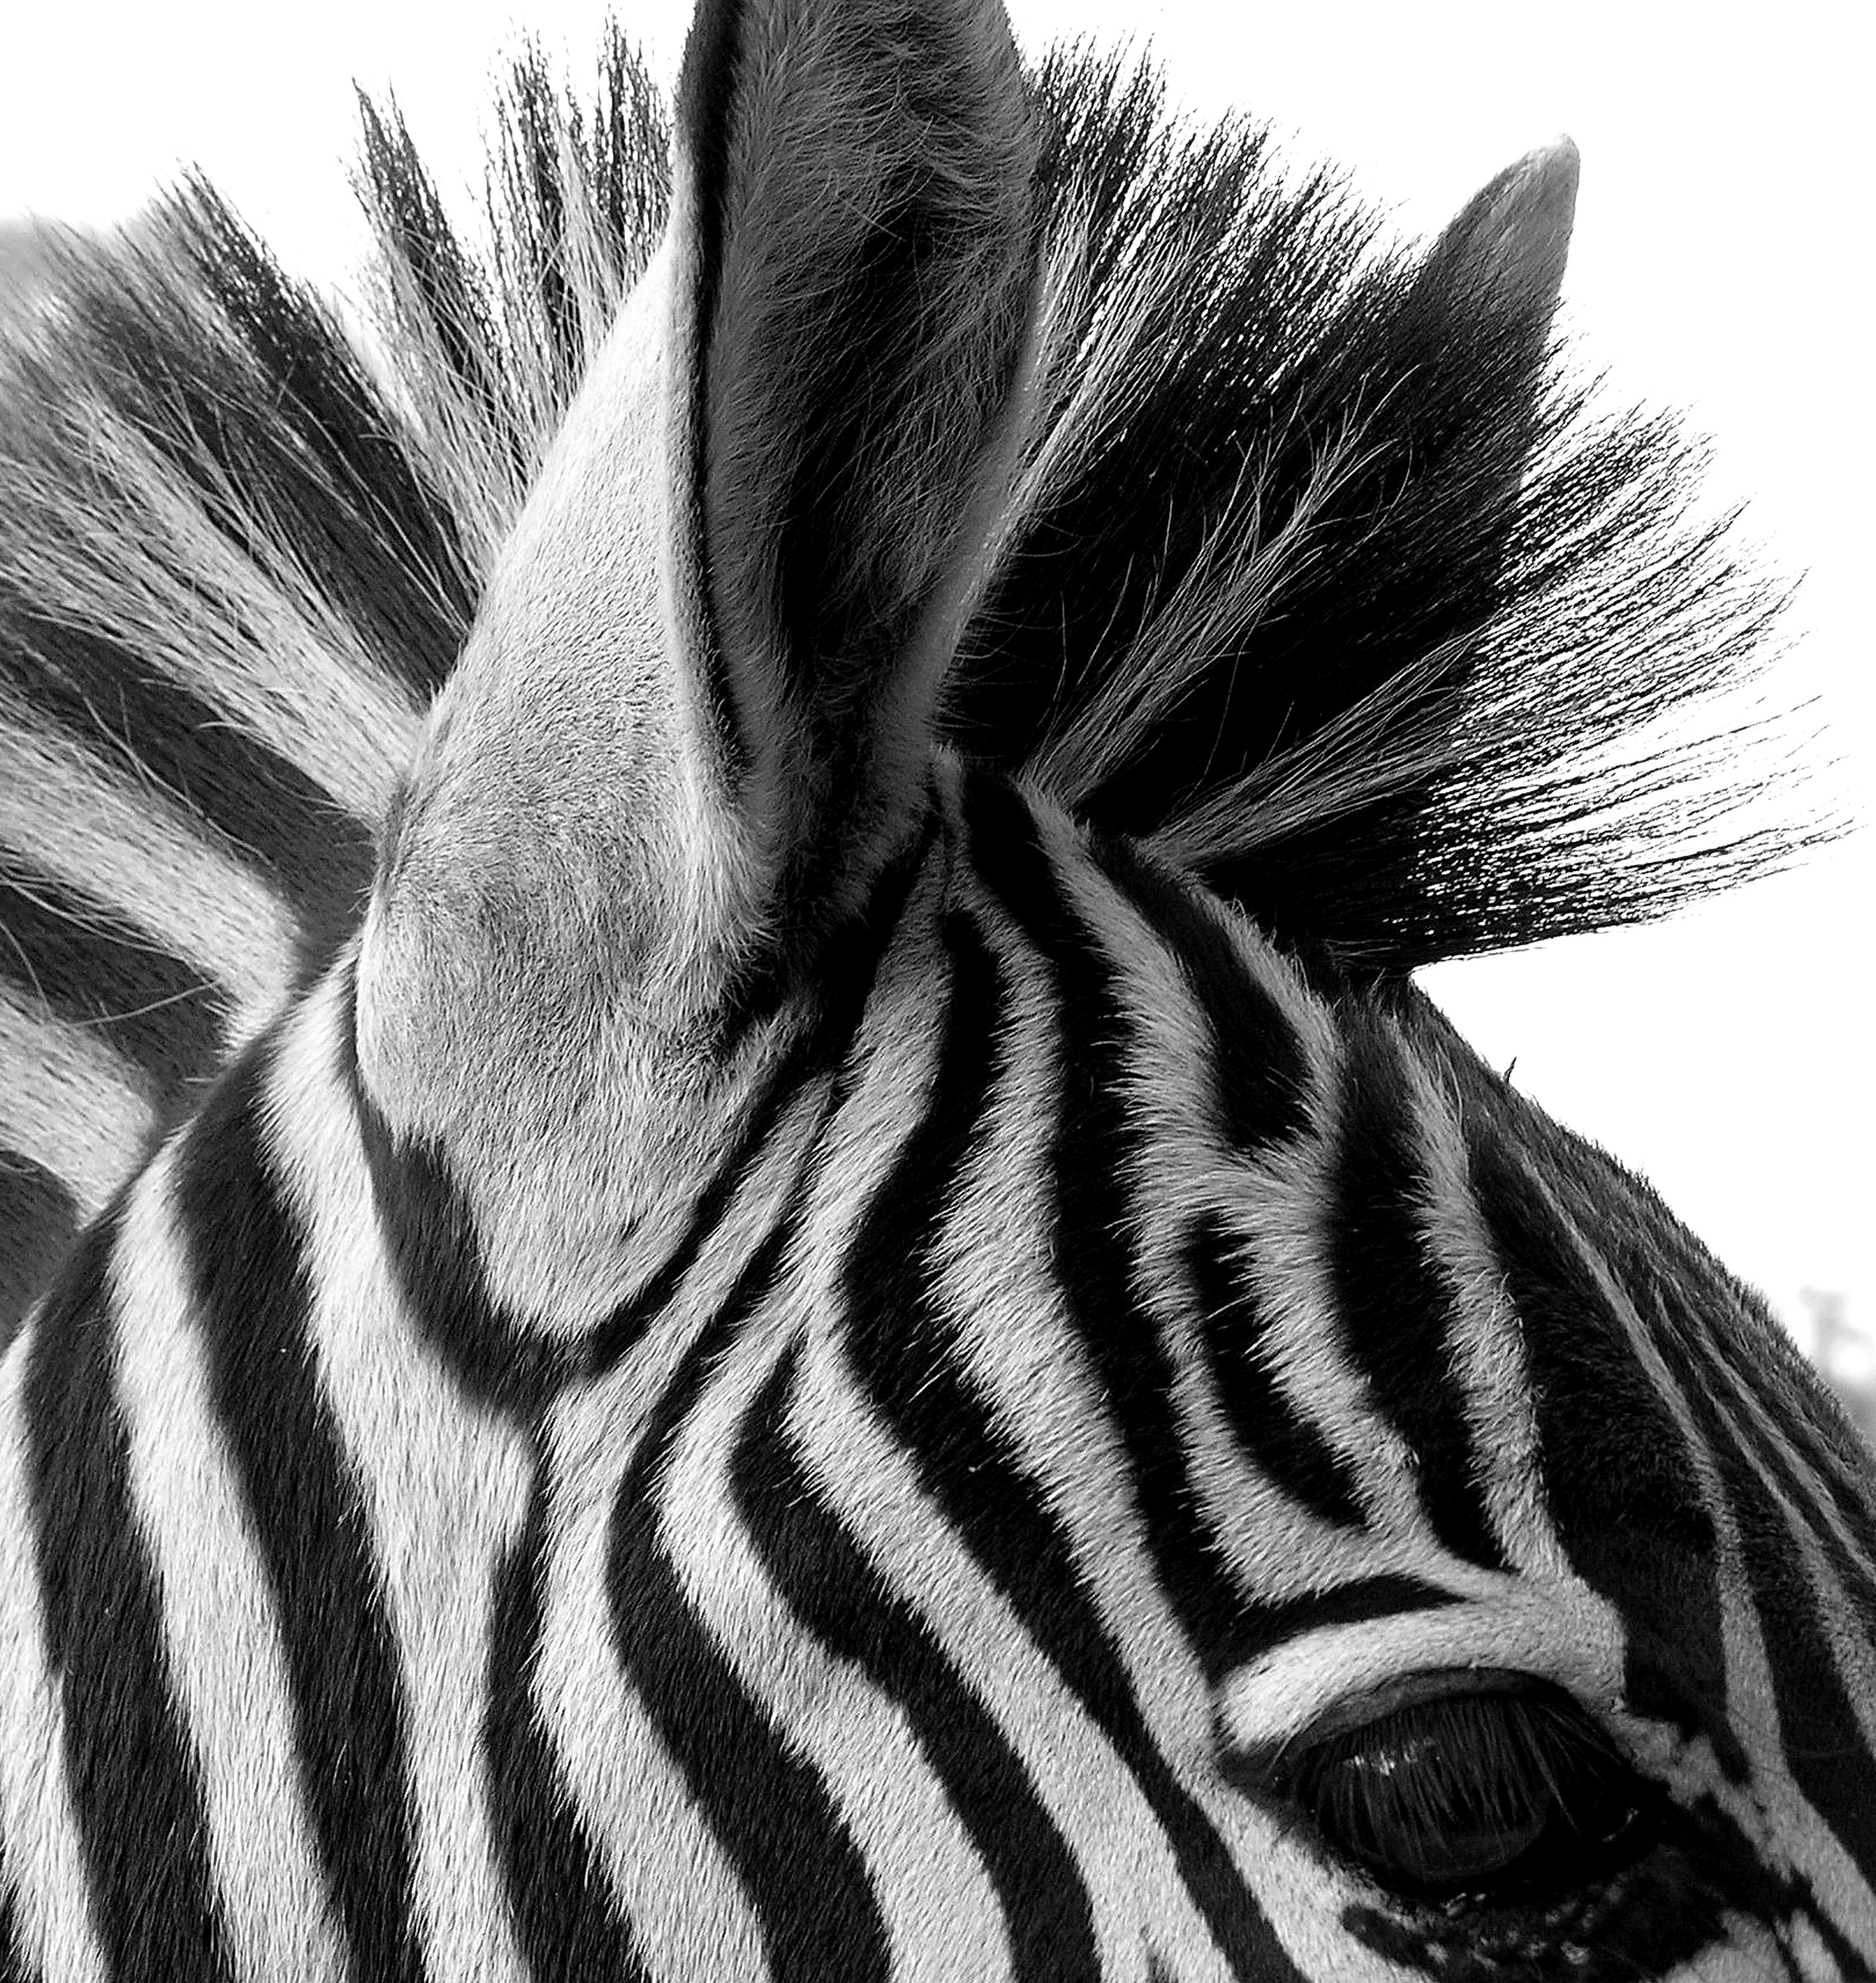
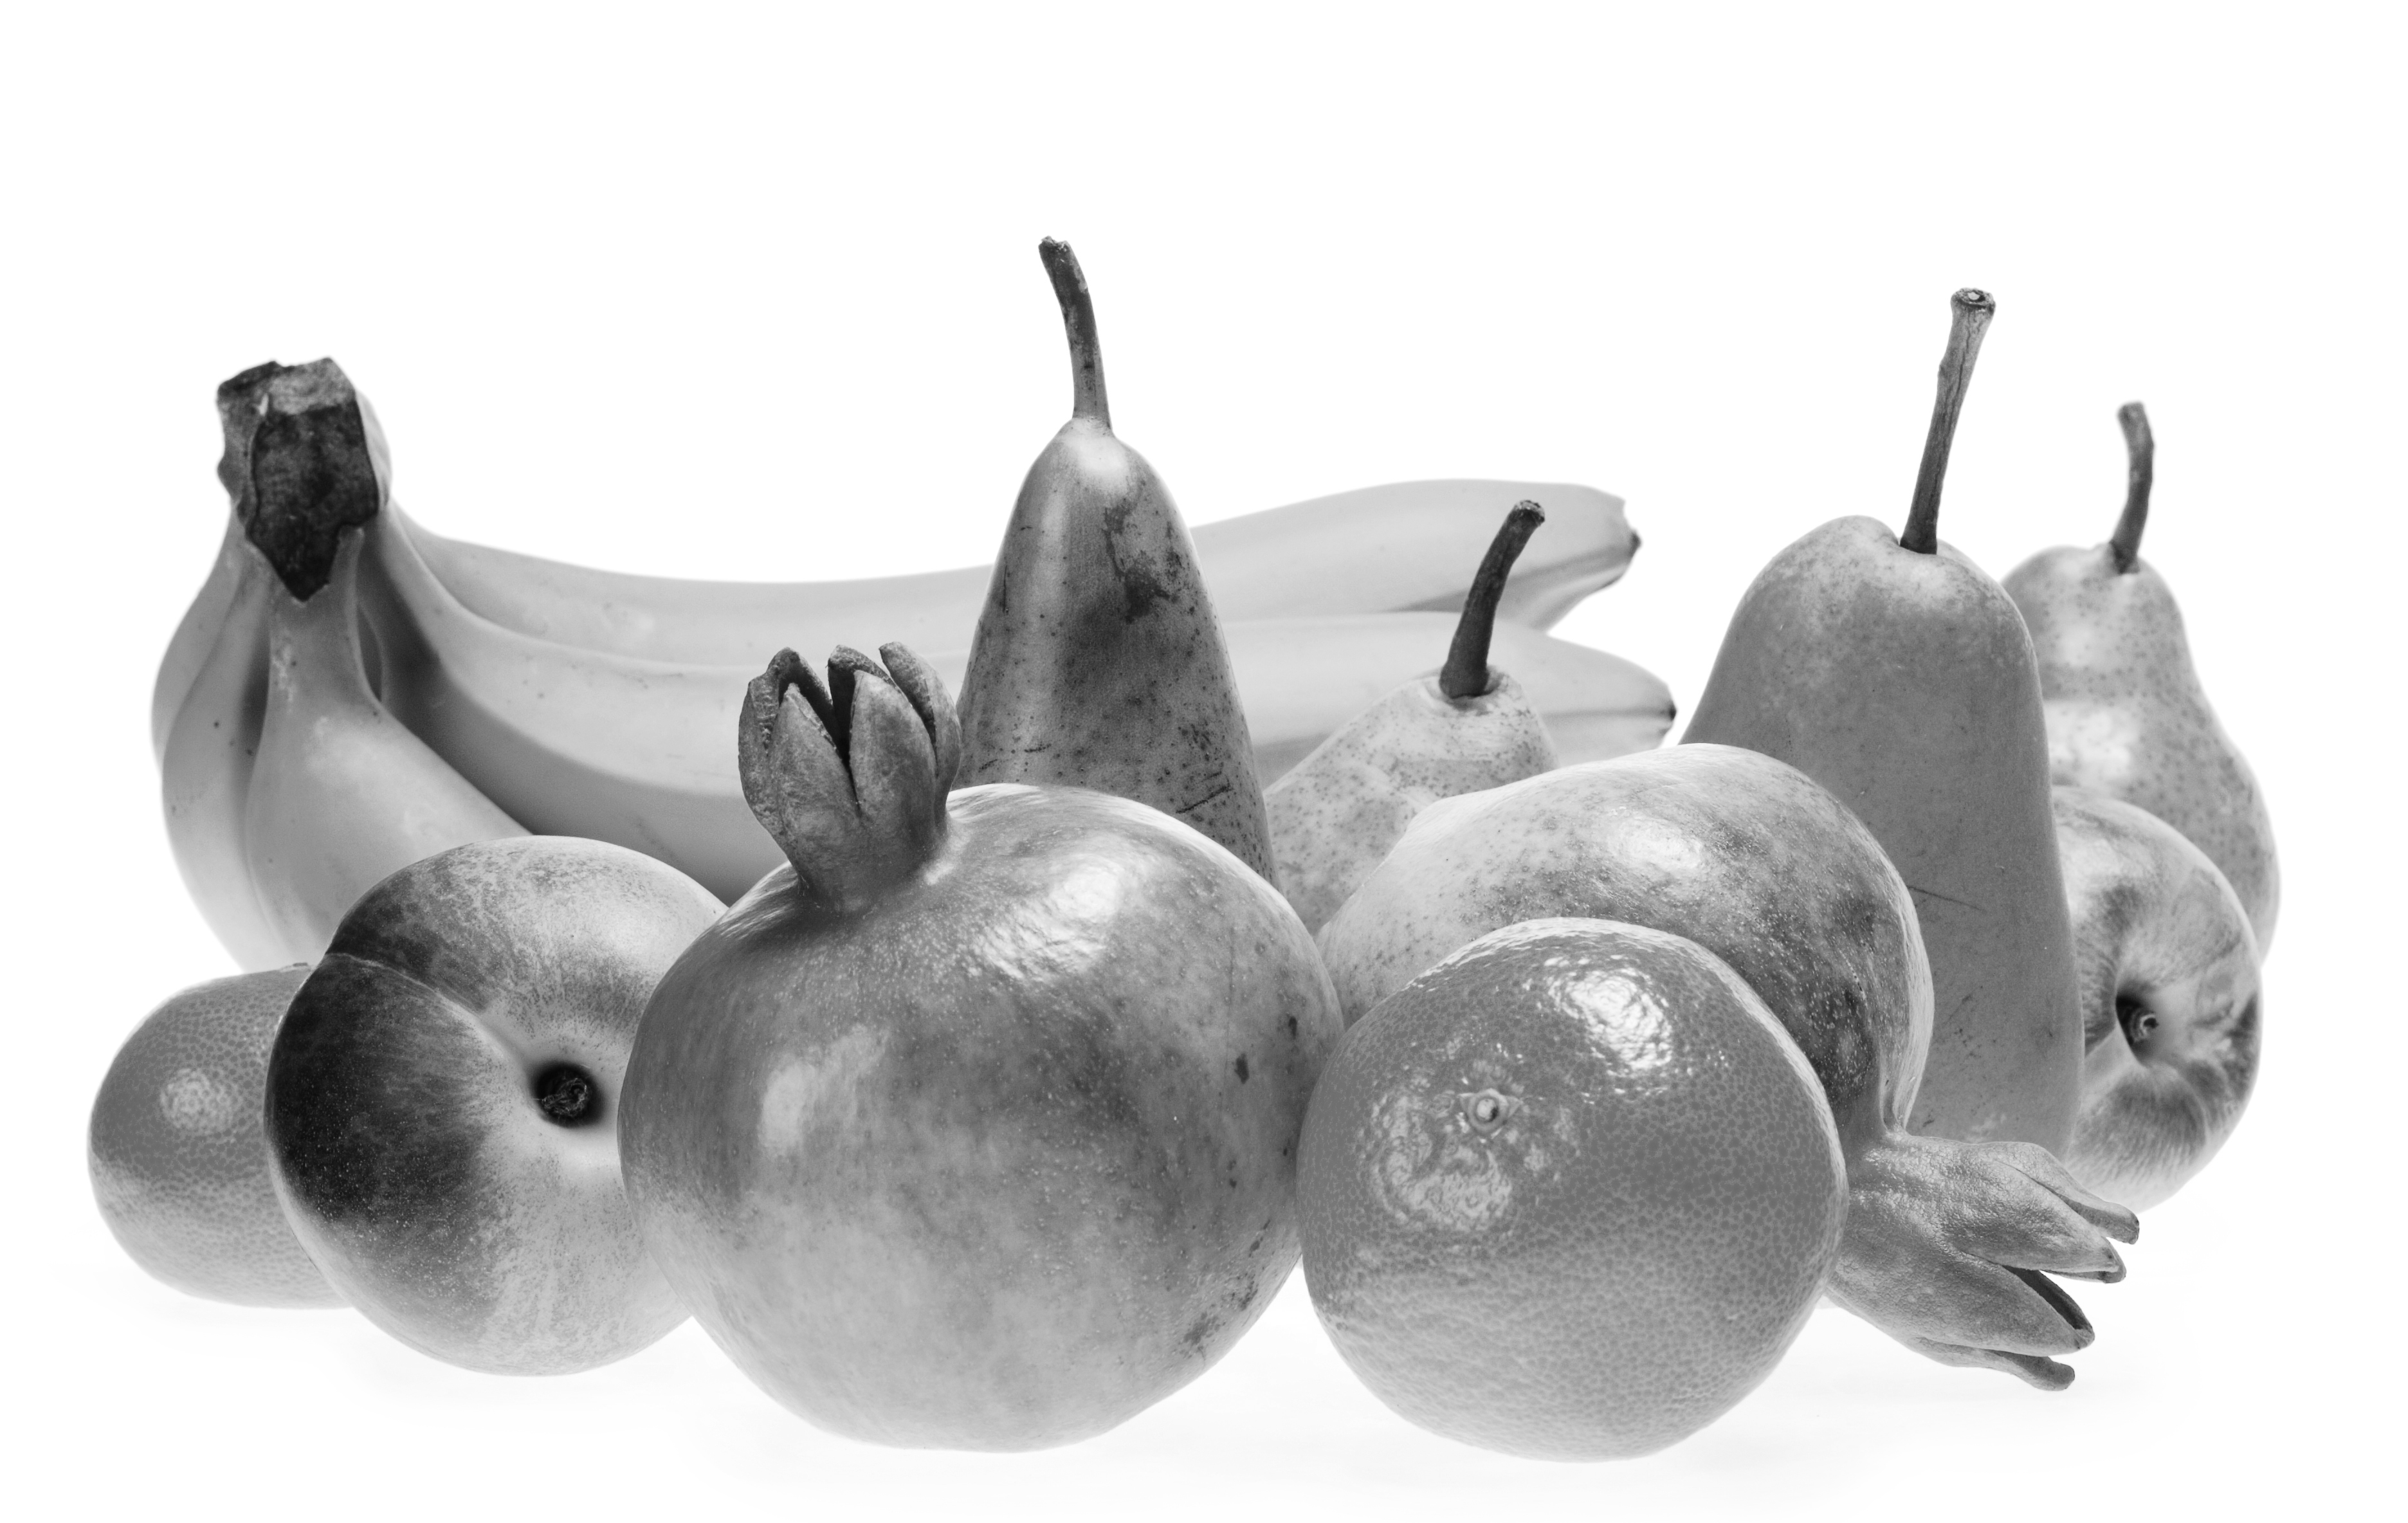
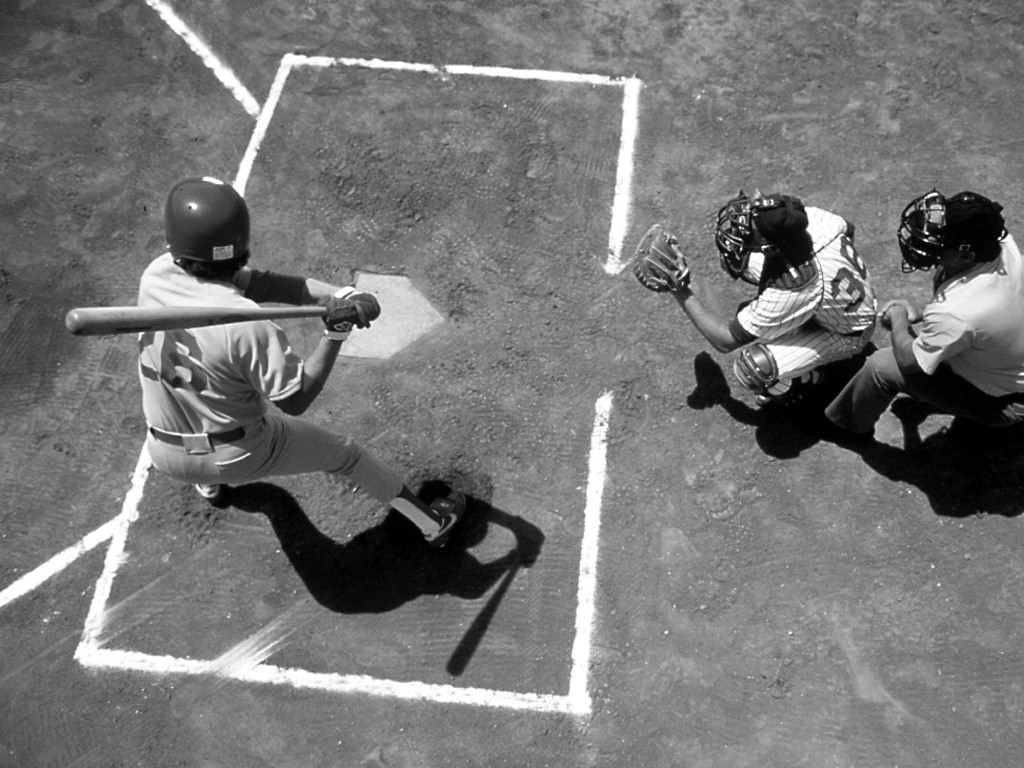
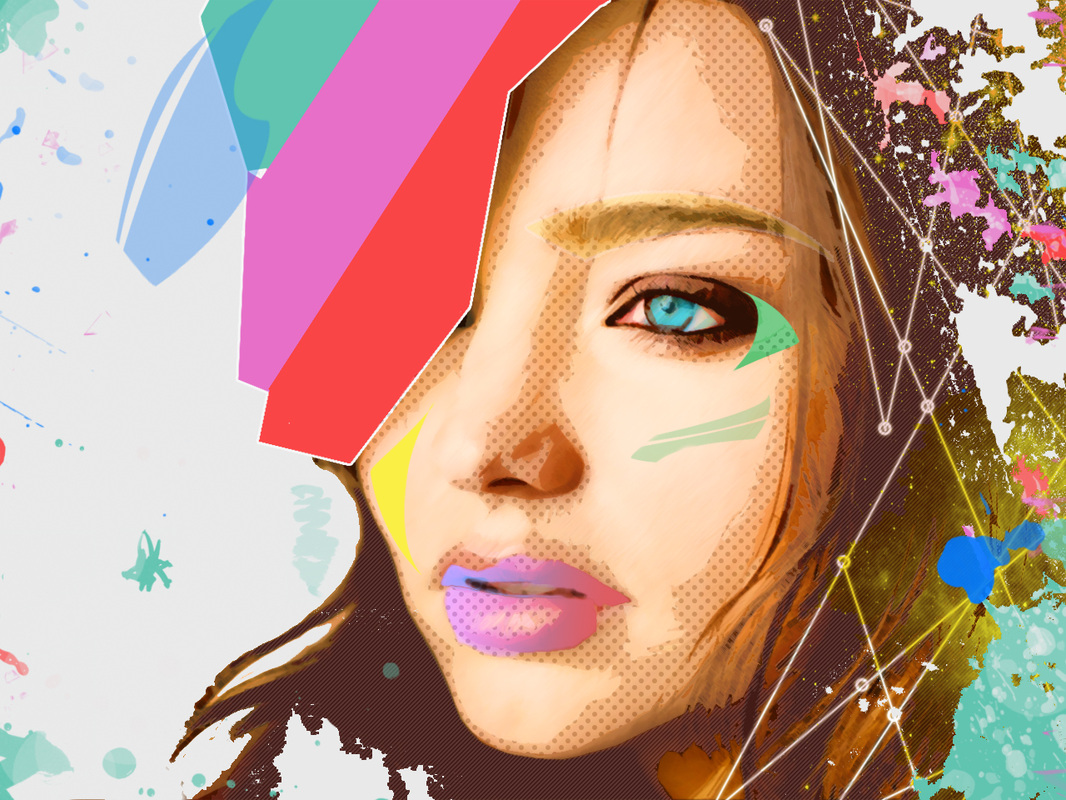
Color Me Photo Project
Adobe Photoshop is a very powerful image editor that can bring life to otherwise dull and unexciting photos. Using the tools and features of the software, a photographer can take his or her pictures to the next level and produce professional-looking images.
In this project, you will learn how to use the selection and coloring tools of Photoshop to add a splash of color to a black and white photo. The overall goal is to bring a dull photo back to life by accurately coloring the components to make them seem life-like. Choose one of the black and white images on the right and use the refined selection tools of Photoshop to carefully select particular areas and add color. Be sure to add each color on its own layer just in case you need to make adjustments later on. Leaving several colors on the same layer (especially the background layer) can result in you having to start your project all over again! You will turn down the opacity for each layer depending on the amount of color you would like visible in order to see your original photograph underneath. Highly recommend locking the background layer before you begin. As you work, save your project as a .psd and name it lastname + firstname + period # + colorphoto.psd. When you are finished, save it as a JPEG with the same name (ex: scogginsemily1stcolorme.jpg) and submit it to Ms. Scales via Air Drop. Remember to add a jpeg copy to your portfolio folder! Make sure you review the rubric for this project to make sure you aren't going to lose any points! 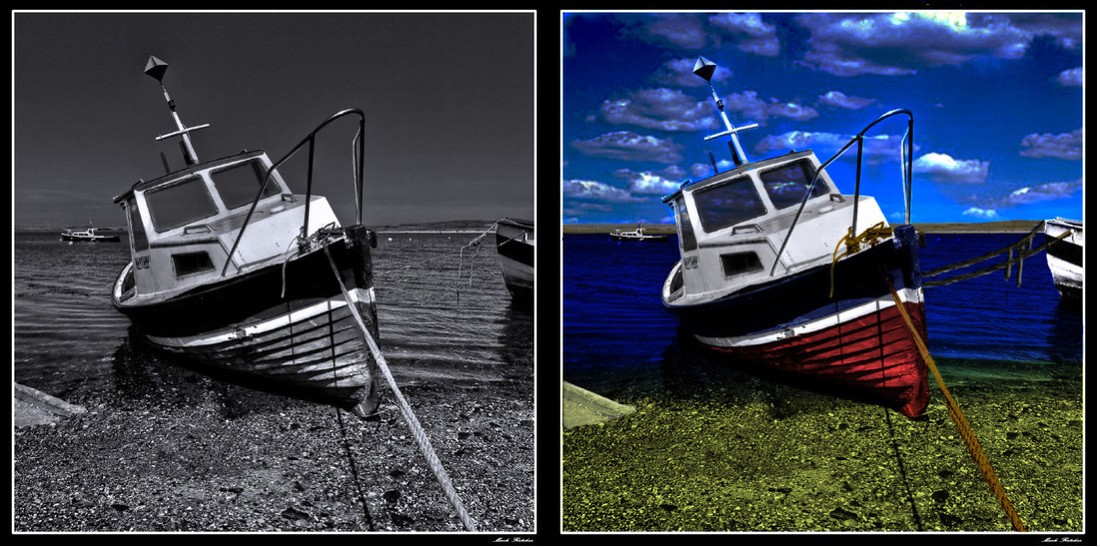
|
Rubric:
| ||||


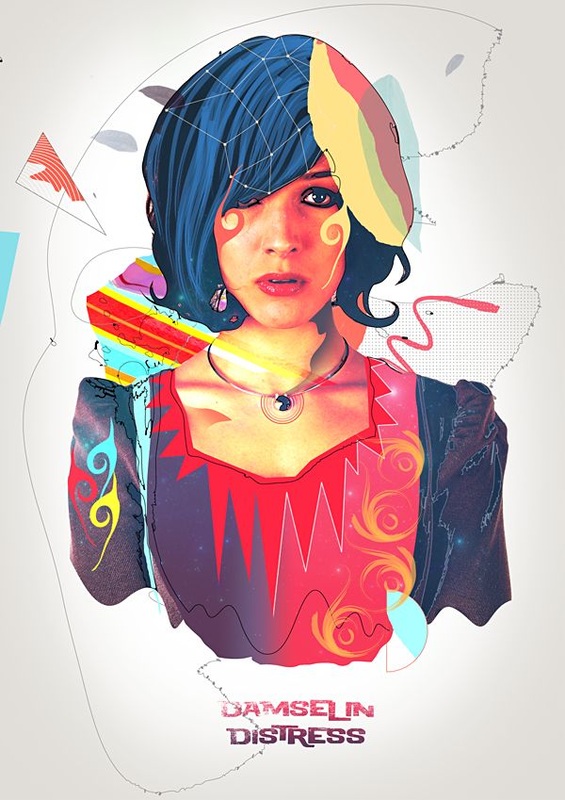
Graffiti Project

Your newest client has a love of all things graffiti. You will be creating a computer Wallpaper in Photoshop for them, but first you need to create one for yourself with your name on it to show them as a sample of what you can create! Use the tutorial found here to walk you through the process.
The tutorial will take you through all the aspects you need to create a design similar to the one above. To make it even more dynamic go to Fontspace.com to download a font that fits in with your design. As you work, save your project as a .psd and name it lastname + firstname + period # + graffiti.psd. When you are finished, save it as a PSD and a JPEG with the same name (ex: scogginsemily1stgraffit.jpg) and turn in BOTH by submitting it to Ms. Scales via Air Drop. Remember to add a jpeg copy to your portfolio folder! Review the rubric for this project to make sure you aren't going to lose any points! |
| ||
Fantasy Night Sky Project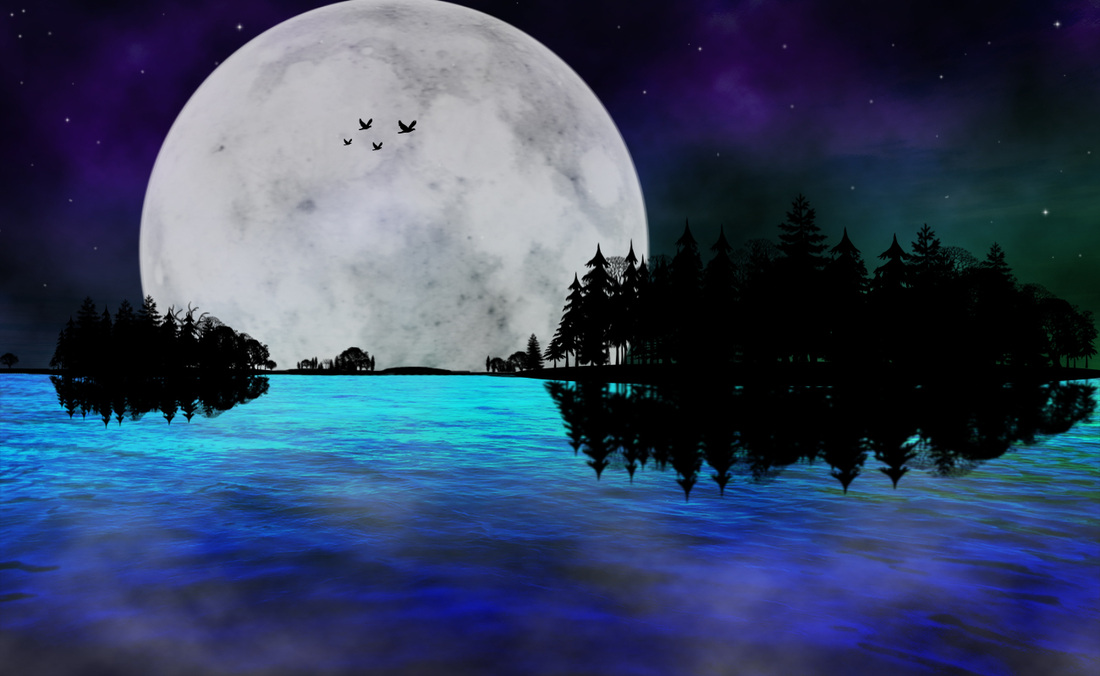
Now it's time to get artistic and creative in Photoshop. You will use the tutorial and the files located here to give you ideas on how to create a Night Sky piece of art. This will help you with using the shape tools in Photoshop, layer styles, filters, quick masking,and gradients among other things. Use your creativity to make a image that looks well designed and realistic. Make sure to check your layers to ensure that you have included everything you need in the correct order.
Save your work as you work as a .PSD and when you finish also save a copy as a JPEG into your portfolio folder. Name it firstlame+lastname + period # + nightsky (ex: scogginsemily1stnightsky.psd). Submit ONLY the PSD to Ms. Scales via Air Drop (the jpeg cannot be graded). Remember to add a jpeg copy to your portfolio folder! Review the rubric for this project to make sure you aren't going to lose any points! |
| ||||||||||
Trading Card Project

Now that you've had some practice with masking, filters, shapes, and layer styles, we can begin some more traditional design in Photoshop. Your job is to create a trading card using the provided images and logos. You will use the drawing and shape tools to create an original border and mask the subject of the given photo to further emphasize the player.
Create a new Photoshop document. In the new document window, change the width and height measurement from pixels to inches and set the width and height to 2.5 inches and 3.5 inches. It does not matter which is the width and which is the height, so be mindful of which orientation better fits the photograph. Before creating the new file also set the resolution to 300 pixels/inch, this is the standard resolution for printed images. When making your layout for the card, consider concepts such as proportion, color, and balance. The overall color scheme will be the same as the player's team. You will also need to incorporate both the team and league logo on the front of the card. The back of the card will include all provided stats, information, and the player's portrait. The layout for the back of the card will have unity with the front, logical font choices, and a flow directing the reader's eye between elements. The front and back of the card will be saved separately. You will submit both in .jpeg format with the proper filename Lastname + Firstname+ period # + TradingCard. Be sure to review the rubric and use your notes on design principles. When finished, submit it to Ms. Scales via Air Drop. If you get stuck trying to think of ideas, feel free to use inspiration for examples you can find on the internet. |
| ||||
Filter Effects
Use your knowledge about Photoshop and filters to create another version of the Warhol Effect. Use the internet to find another picture you would like to modify. Save it to your Photoshop or Graphics folder and open it in Photoshop. This time you will create nine different renditions of your picture, but using the different filters rather than coloring it. Apply a different filter to your photo nine different times and use Save As to create all of your renditions. Remember, if you save your work instead of using Save As, you will overwrite your original photo and have to go find it again. Once you have applied nine different filters to your photo, compile them into a composite JPEG (this time you will change the canvas size by 300% for both variables). Save your extra credit project as yourfirstname + lastname + filters (ex: emilyscalesfilters.jpg). Submit the completed photo to your period's folder and you will receive extra credit on another assignment.
Website Banner
Help Mrs. Scoggins out by creating a banner to put on the Blackboard Course site! Create a Photoshop file that is 700 pixels wide x 250 pixels tall. Add a text box and type "Digital Media I". Change the font, add pictures, layer styles, filters, and any other features to make your banner cool and interesting. Name the file last name + first name + period + banner (ex: scogginsemily1stbanner). Save it as a JPEG and submit it through Air Drop.
Stamps
eate a new file 174 x 200 pixels in Photoshop. You are going to create postage stamps. Decide upon a common theme for your stamps (ex: sponge bob). All your stamps must have a common theme (if you choose cars, you must use cars for all your stamps, but you can use different types of cars). Make sure all stamps have a similar look. Click on this project folder for examples. Make sure all cut out image edges are clean and smooth. Remember to add the price of the stamp (44 cents) and the letters USA below the price. Use Arial Black for the stamp price and USA lettering. Create 6 total stamps. Save the file as yourfirstname + lastname + stamp# (stamp2, stamp3, etc.). Remember to save each file as a PSD and a JPEG. Submit only the JPEGs in the Dropbox.
|
| ||
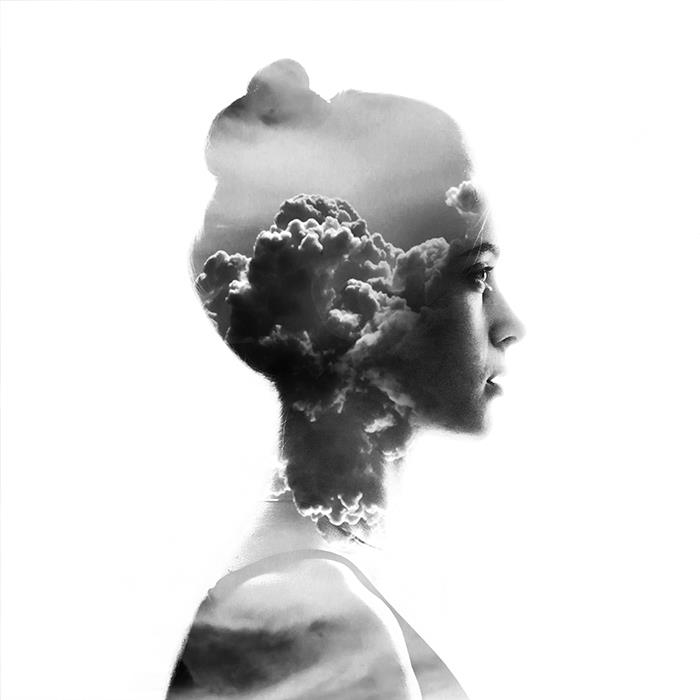
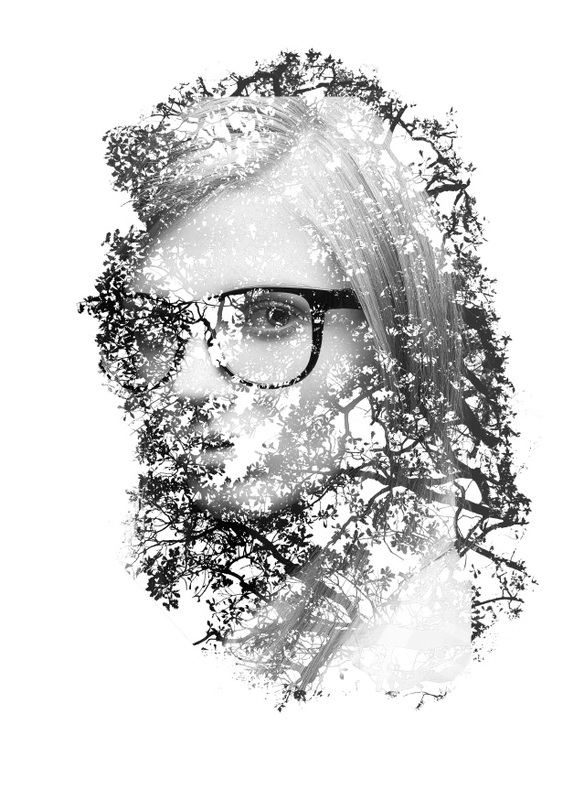
Double Exposure
Using Photoshop you can merge multiple photographs to create a really awesome double exposure effect. To the Right is a link for a video (start at 1:45 minutes in.... he talks a lot about nothing for a while) OR a step by step tutorial of written directions.
Examples:
|

Super Easy Color Effect
|
So in this tutorial I will show you how to create a nice colorful background using Photoshop. The whole process is pretty simple and straightforward. One good requirement is to understand a little bit of Color Theory in order to create different color combinations.
|

|
Watercolor Painting Effect
|
In this Photoshop effects tutorial, we’re going to learn how to easily make a photo look more like a watercolor painting. This photo effect works best on images where maintaining rich colors and strong contrast is more important than keeping any fine details, since you’ll be losing a lot of detail with this effect.
Examples:
|

Classic Light Effect
|
So in this tutorial I will show you how to create a super cool text light effect mixing some photos to give more realism. The cool thing about this effect is that the whole process is very simple and quite easy.
|

|
Instagram Photos
|
Instagram reinvented the photo sharing on our social media structure. It's a fast, beautiful and fun way to share your pictures to friends and family. And what I like the most about Instagram, are the various schemes that offers you to filter your pictures with your own little touch. This tutorial walks you through how to create the "Nashville" filter on any photograph
|
|
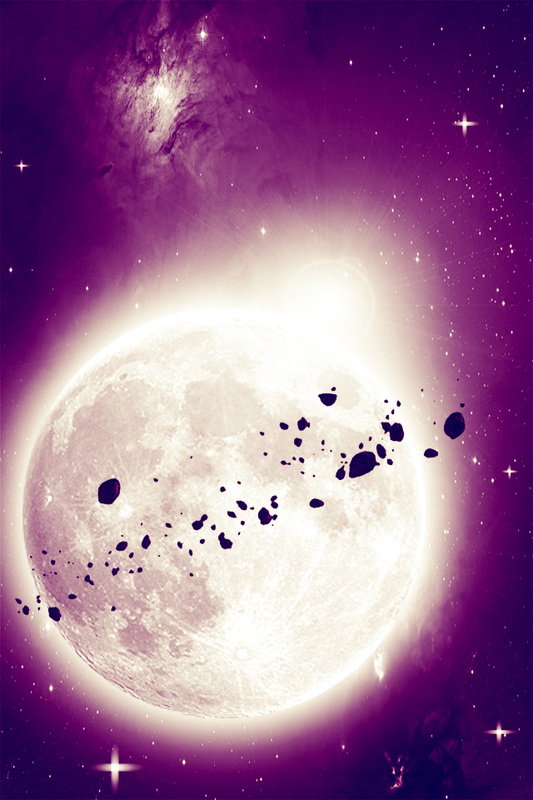
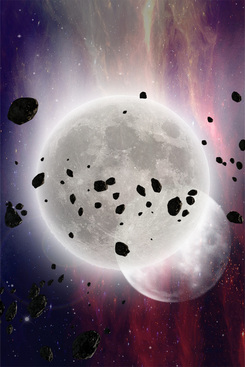
Stellar iPhone Wallpaper
|
In this tutorial you’ll learn how to create your own iPhone 4 wallpaper, while learning the basics of layer styles, adjustment layers, and filters.
You’ll create stylized space art, utilizing NASA stock, and putting an emphasis on attractive lighting and colour composition. |
|
|
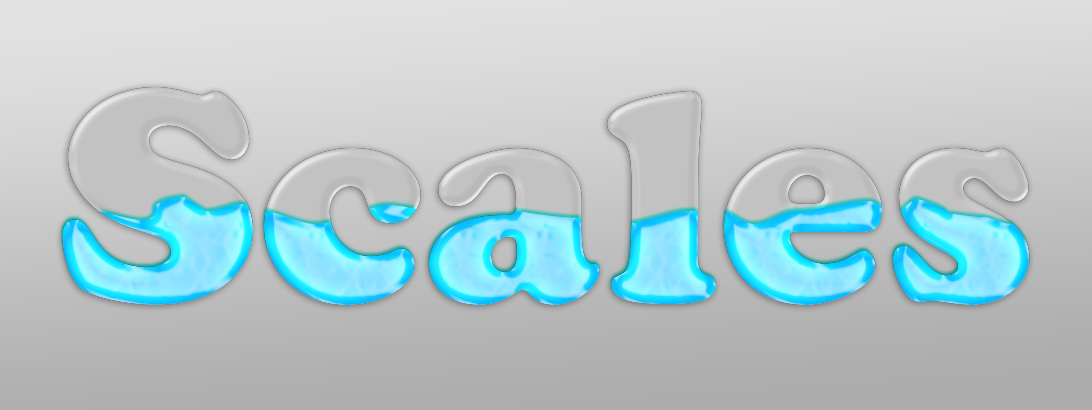
Liquid Text EffectLayer styles are a powerful tool in Photoshop that allow you to quickly create effects that you can then apply to additional objects. This tutorial will demonstrate how to use layer styles to create a liquid filled text effect in Photoshop.
|

|
|
Folded PaperToday we will learn how to realize a folded paper text effect from scratch in Photoshop. We will firstly create the background using a couple of patterns, then we will work on the type treatment with the help of the pen tool, layer masks and other useful techniques related to dodge, burn and the transform tool. This tutorial is very simple to follow, so I suggest to everyone to give a try.
|

|
Soccer ImageIn this tutorial, you will learn how to create a soccer-themed text effect, using basic Layer Styles, brushes, and a couple of textures.
|

|
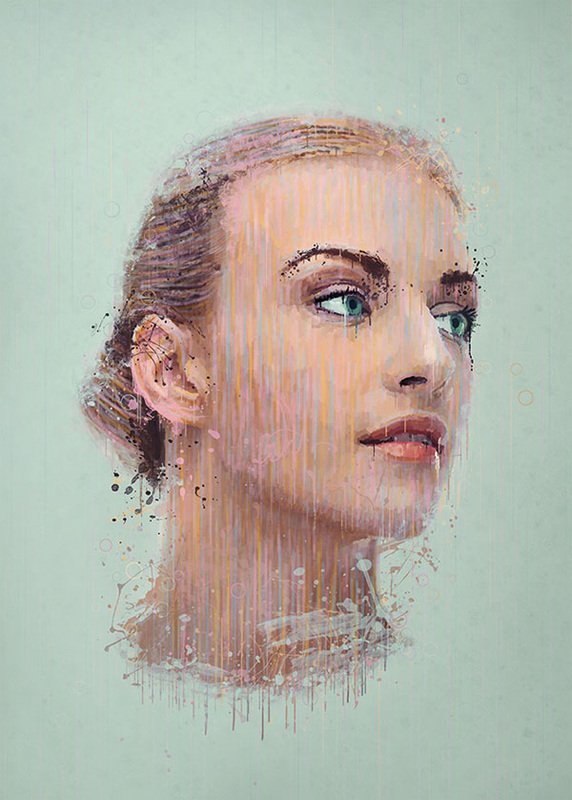
Splatter Paint PortriatIn this tutorial, you will learn how to manipulate a portrait photo to create a splatter paint and drip effect in Photoshop. This tutorial will cover many techniques including overlay painting, blending, and coloring techniques. These techniques can also be re-used for many other projects.
|
|
Illustrator
YouTube Illustrator Tutorials
How to Repeat Any Shape Along a Circular Path |
How to Make Banners / Ribbons |
|
|
|
Blend Tool Line Logo |
How to design a Golden Frame |
Illustrator Animal Polygon Design

Click here to Use Illustrator's tools, menus, and palettes to create a complex vector logo with polygonal shapes.
Create a Colorful Polygonal Animal by selecting an image of animal online and then using polygonal shapes and triangles to design a colorful animal shape recreation Challenge yourself to include gradients, feathering, or transparency. See the examples for ideas. Your image size is 800 width and 600 height.
Save your completed graphic as a AI (Illustrator file) and then export as a JPEG file. Label it as last name + first initial + poly (ex. pettywpoly.jpg) and save in your graphics folder. Submit only the JPEG file to the right. Place your .ai file in your projects folder on your desktop. edit.
Photoshop and Illustrator
Man of Steel Symbol
|
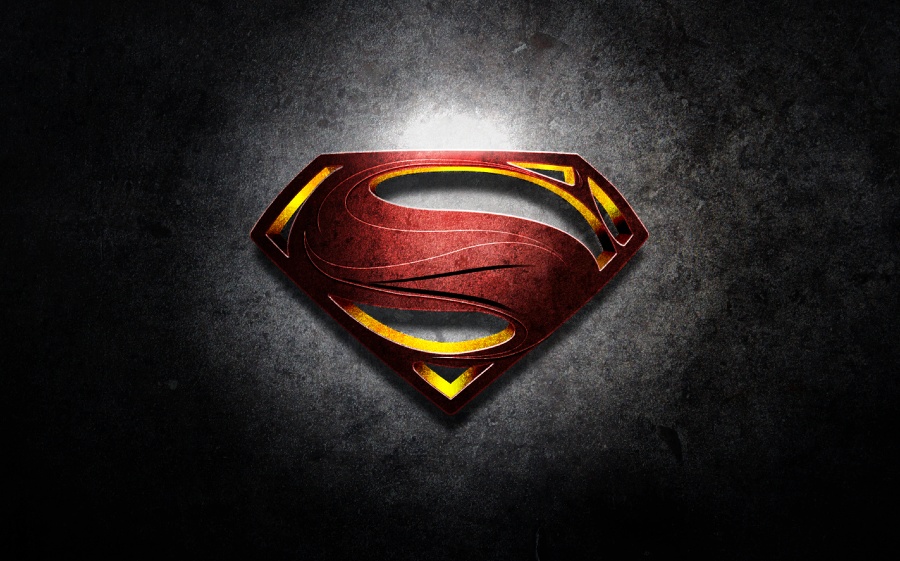
So in this tutorial we will show you how to create the Superman, Man of Steel logo using Illustrator and Photoshop. We will also utilize some stock photos for textures and the original poster for reference. The whole process will take from 3-5 hours depending on your pace. In the end it will be really fun to create and well worth the time spent.
|
|
The Great GatsbySo for this tutorial we will create a Art Deco image based on the poster of The Great Gatsby movie. We will use Adobe Illustrator and Photoshop to create the whole thing. The process is not difficult but it's very time consuming. Another thing to notices, is that there's no specific rules but to keep the square angles.
|

|
Retro Poster DesignTake a photo and turn it into this amazing retro-style artwork using Photoshop and Illustrator. You'll learn how to create this using very few stock photos and with creative techniques that can also be used in your other designs. To follow this tutorial, you'll need to have some basic experience with Adobe Illustrator.
|
|
|
Additional Tutorials:
InDESIGN
|
Digital Media 2 is a client based design class and to start you off we will create a brochures for CTE classes here at Wakefield High in Photoshop and in InDesign.
You will be meeting with your teacher to find out what needs to be a part of the brochure, how they would like it to look, images they want to include, etc...Yes, you are designing this, but for your CLIENT so it must please them to get an A. As you meet with your Teacher, you will need to take notes which must be turned in with your final product along with any printed rough drafts. Things to keep in mind:
As you work, save your project as a .psd and name it lastname + firstname + period# + cte.psd. When you are finished, save it as a ID and a JPEG with the same name (ex: scalesemilycte.id) and turn in BOTH into the folder for your class. Remember to add a jpeg copy to your portfolio folder! Review the rubric for this project to make sure you aren't going to lose any points! |
Template:
Rubric:
| ||||||

|
|

|
|

|
You and a partner will build a website design for the Wakefield site. together you will plan out what you would like to accomplish before starting on the computer. Approach this project as you would any with a Pre-Production planning time. You will need to turn in a flowchart for the site and a basic sketch of what you plan to design and conference with Scales before starting on the computer.
Must include:
Use the current site to see what should be included (information, links, etc...). The links do not need to work, but there needs to be a place for all of these in your design. I have included the W for you to use to the right. Be creative, but keep in mind the principals of design as it relates to web design.
Must include:
- Homepage
- Student Page
- Staff Page
- About Us Page
- Flowchart for the Site
- Sketches
Use the current site to see what should be included (information, links, etc...). The links do not need to work, but there needs to be a place for all of these in your design. I have included the W for you to use to the right. Be creative, but keep in mind the principals of design as it relates to web design.
